Servlet Pagination
In our last article we did CRUD example , the data was too much for single page so it will load more when we use it on single page. Solution for this problem is pagination, we used to divide our large number of data into pages so that database query will take less time to execute. We are going to use same table which is done in previous article. So let’s start example now.
Example :-
Lets create a simple example to demonstrate pagination of records –
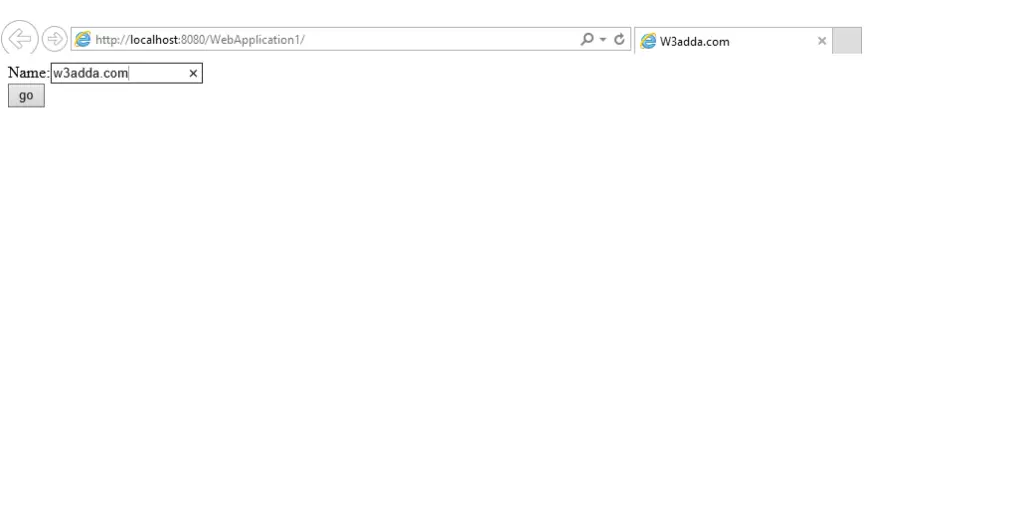
index.html
First we need index.html file which will be our welcome page. Check below code.
|
1 2 3 4 5 6 7 8 9 10 11 12 13 14 15 16 17 18 19 20 21 22 23 24 25 26 27 28 29 30 31 32 |
<html> <head> <title>W3adda.com</title> <meta charset="UTF-8"> <meta name="viewport" content="width=device-width, initial-scale=1.0"> </head> <body> <h1>Add Employee</h1> <form action="AddServlet" method="post"> <table> <tr><td>Name:</td><td><input type="text" name="name"/></td></tr> <tr><td>Password:</td><td><input type="password" name="password"/></td></tr> <tr><td>Email:</td><td><input type="email" name="email"/></td></tr> <tr><td>Country:</td><td> <select name="country" style="width:150px"> <option>India</option> <option>USA</option> <option>UK</option> <option>Other</option> </select> </td></tr> <tr><td colspan="2"><input type="submit" value="Add Employee"/></td></tr> </table> </form> <br/> <a href="ViewEmpServlet?page=1">view employees</a> </body> </html> |
Emp.java
This is our model class means Java bean class, we have used same like previous article, please check below code.
|
1 2 3 4 5 6 7 8 9 10 11 12 13 14 15 16 17 18 19 20 21 22 23 24 25 26 27 28 29 30 31 32 33 34 35 36 37 38 39 |
package Model; public class Emp { private int id; private String name,password,email,country; public int getId() { return id; } public void setId(int id) { this.id = id; } public String getName() { return name; } public void setName(String name) { this.name = name; } public String getPassword() { return password; } public void setPassword(String password) { this.password = password; } public String getEmail() { return email; } public void setEmail(String email) { this.email = email; } public String getCountry() { return country; } public void setCountry(String country) { this.country = country; } } |
EmpDBHandler.java
This is our Database handler class, same as previous article except one method (i.e. getRecords()) which is used for pagination check below code for more details.
|
1 2 3 4 5 6 7 8 9 10 11 12 13 14 15 16 17 18 19 20 21 22 23 24 25 26 27 28 29 30 31 32 33 34 35 36 37 38 39 40 41 42 43 44 45 46 47 48 49 50 51 52 53 54 55 56 57 58 59 60 61 62 63 64 65 66 67 68 69 70 71 72 73 74 75 76 77 78 79 80 81 82 83 84 85 86 87 88 89 90 91 92 93 94 95 96 97 98 99 100 101 102 103 104 105 106 107 108 109 110 111 112 113 114 115 116 117 118 119 120 121 122 123 124 125 126 127 128 129 130 |
import Model.Emp; import java.sql.Connection; import java.sql.DriverManager; import java.sql.PreparedStatement; import java.sql.ResultSet; import java.util.ArrayList; import java.util.List; public class EmpDBHandler { public static Connection getConnection(){ Connection con=null; try{ Class.forName("com.mysql.jdbc.Driver"); con = DriverManager.getConnection("jdbc:mysql://localhost:3306/test", "root", ""); }catch(Exception e){System.out.println(e);} return con; } public static int AddEmp(Emp e){ int status=0; try{ Connection con=EmpDBHandler.getConnection(); PreparedStatement ps=con.prepareStatement( "insert into emp_management(full_name,password,email,country) values (?,?,?,?)"); ps.setString(1,e.getName()); ps.setString(2,e.getPassword()); ps.setString(3,e.getEmail()); ps.setString(4,e.getCountry()); status=ps.executeUpdate(); con.close(); }catch(Exception ex){ex.printStackTrace();} return status; } public static int update(Emp e){ int status=0; try{ Connection con=EmpDBHandler.getConnection(); PreparedStatement ps=con.prepareStatement( "update emp_management set full_name=?,password=?,email=?,country=? where id=?"); ps.setString(1,e.getName()); ps.setString(2,e.getPassword()); ps.setString(3,e.getEmail()); ps.setString(4,e.getCountry()); ps.setInt(5,e.getId()); status=ps.executeUpdate(); con.close(); }catch(Exception ex){ex.printStackTrace();} return status; } public static int delete(int id){ int status=0; try{ Connection con=EmpDBHandler.getConnection(); PreparedStatement ps=con.prepareStatement("delete from emp_management where id=?"); ps.setInt(1,id); status=ps.executeUpdate(); con.close(); }catch(Exception e){e.printStackTrace();} return status; } public static Emp getEmployeeById(int id){ Emp e=new Emp(); try{ Connection con=EmpDBHandler.getConnection(); PreparedStatement ps=con.prepareStatement("select * from emp_management where id=?"); ps.setInt(1,id); ResultSet rs=ps.executeQuery(); if(rs.next()){ e.setId(rs.getInt(1)); e.setName(rs.getString(2)); e.setPassword(rs.getString(3)); e.setEmail(rs.getString(4)); e.setCountry(rs.getString(5)); } con.close(); }catch(Exception ex){ex.printStackTrace();} return e; } public static List<Emp> getAllEmployees(){ List<Emp> list=new ArrayList<Emp>(); try{ Connection con=EmpDBHandler.getConnection(); PreparedStatement ps=con.prepareStatement("select * from emp_management"); ResultSet rs=ps.executeQuery(); while(rs.next()){ Emp e=new Emp(); e.setId(rs.getInt(1)); e.setName(rs.getString(2)); e.setPassword(rs.getString(3)); e.setEmail(rs.getString(4)); e.setCountry(rs.getString(5)); list.add(e); } con.close(); }catch(Exception e){e.printStackTrace();} return list; } public static List<Emp> getRecords(int start,int total){ List<Emp> list=new ArrayList<Emp>(); try{ Connection con=getConnection(); PreparedStatement ps=con.prepareStatement("select * from emp_management limit "+(start-1)+","+total); ResultSet rs=ps.executeQuery(); while(rs.next()){ Emp e=new Emp(); e.setId(rs.getInt(1)); e.setName(rs.getString(2)); e.setEmail(rs.getString(4)); list.add(e); } con.close(); }catch(Exception e){System.out.println(e);} return list; } } |
ViewEmpServlet.java
This is our servlet class where pagination is going to do work, please check below code for this thing.
|
1 2 3 4 5 6 7 8 9 10 11 12 13 14 15 16 17 18 19 20 21 22 23 24 25 26 27 28 29 30 31 32 33 34 35 36 37 38 39 40 41 42 43 44 45 46 47 48 49 50 51 52 53 54 55 56 57 58 59 60 61 62 63 64 65 66 67 68 69 70 71 72 73 74 75 76 77 78 79 80 81 82 83 84 85 86 87 88 |
import Model.Emp; import java.io.IOException; import java.io.PrintWriter; import java.util.List; import javax.servlet.ServletException; import javax.servlet.http.HttpServlet; import javax.servlet.http.HttpServletRequest; import javax.servlet.http.HttpServletResponse; public class ViewEmpServlet extends HttpServlet { protected void processRequest(HttpServletRequest request, HttpServletResponse response) throws ServletException, IOException { response.setContentType("text/html;charset=UTF-8"); } // <editor-fold defaultstate="collapsed" desc="HttpServlet methods. Click on the + sign on the left to edit the code."> /** * Handles the HTTP <code>GET</code> method. * * @param request servlet request * @param response servlet response * @throws ServletException if a servlet-specific error occurs * @throws IOException if an I/O error occurs */ @Override protected void doGet(HttpServletRequest request, HttpServletResponse response) throws ServletException, IOException { processRequest(request, response); PrintWriter out=response.getWriter(); String spageid=request.getParameter("page"); int pageid=Integer.parseInt(spageid); int total=5; if(pageid==1){} else{ pageid=pageid-1; pageid=pageid*total+1; } List<Emp> list=EmpDBHandler.getRecords(pageid,total); out.println("<a href='index.html'>Add Employee</a>"); out.print("<h1>W3adda EMP LIST Page No: "+spageid+"</h1>"); out.print("<table border='1' cellpadding='4' width='60%'>"); out.print("<tr><th>Id</th><th>Name</th><th>Email</th>"); for(Emp e:list){ out.print("<tr><td>"+e.getId()+"</td><td>"+e.getName()+"</td><td>"+e.getEmail()+"</td></tr>"); } out.print("</table>"); out.print("<a href='ViewEmpServlet?page=1'>1</a> "); out.print("<a href='ViewEmpServlet?page=2'>2</a> "); out.print("<a href='ViewEmpServlet?page=3'>3</a> "); out.close(); } /** * Handles the HTTP <code>POST</code> method. * * @param request servlet request * @param response servlet response * @throws ServletException if a servlet-specific error occurs * @throws IOException if an I/O error occurs */ @Override protected void doPost(HttpServletRequest request, HttpServletResponse response) throws ServletException, IOException { processRequest(request, response); } /** * Returns a short description of the servlet. * * @return a String containing servlet description */ @Override public String getServletInfo() { return "Short description"; }// </editor-fold> } |
AddServlet.java
This same as previous article, From here we will add employee, please check below code.
|
1 2 3 4 5 6 7 8 9 10 11 12 13 14 15 16 17 18 19 20 21 22 23 24 25 26 27 28 29 30 31 32 33 34 35 36 37 38 39 40 41 42 43 44 45 46 47 48 49 50 51 52 53 54 55 56 57 58 59 60 61 62 63 64 65 66 67 68 69 70 71 72 73 74 75 76 77 78 79 80 81 82 83 84 85 86 87 88 89 90 91 92 |
import Model.Emp; import java.io.IOException; import java.io.PrintWriter; import javax.servlet.ServletException; import javax.servlet.http.HttpServlet; import javax.servlet.http.HttpServletRequest; import javax.servlet.http.HttpServletResponse; public class AddServlet extends HttpServlet { /** * Processes requests for both HTTP <code>GET</code> and <code>POST</code> * methods. * * @param request servlet request * @param response servlet response * @throws ServletException if a servlet-specific error occurs * @throws IOException if an I/O error occurs */ protected void processRequest(HttpServletRequest request, HttpServletResponse response) throws ServletException, IOException { response.setContentType("text/html;charset=UTF-8"); } // <editor-fold defaultstate="collapsed" desc="HttpServlet methods. Click on the + sign on the left to edit the code."> /** * Handles the HTTP <code>GET</code> method. * * @param request servlet request * @param response servlet response * @throws ServletException if a servlet-specific error occurs * @throws IOException if an I/O error occurs */ @Override protected void doGet(HttpServletRequest request, HttpServletResponse response) throws ServletException, IOException { processRequest(request, response); } /** * Handles the HTTP <code>POST</code> method. * * @param request servlet request * @param response servlet response * @throws ServletException if a servlet-specific error occurs * @throws IOException if an I/O error occurs */ @Override protected void doPost(HttpServletRequest request, HttpServletResponse response) throws ServletException, IOException { processRequest(request, response); PrintWriter out=response.getWriter(); String name=request.getParameter("name"); String password=request.getParameter("password"); String email=request.getParameter("email"); String country=request.getParameter("country"); Emp e=new Emp(); e.setName(name); e.setPassword(password); e.setEmail(email); e.setCountry(country); int status=EmpDBHandler.AddEmp(e); if(status>0){ out.print("<p>Record saved successfully!</p>"); request.getRequestDispatcher("index.html").include(request, response); }else{ out.println("Sorry! unable to save record"); } out.close(); } /** * Returns a short description of the servlet. * * @return a String containing servlet description */ @Override public String getServletInfo() { return "Short description"; }// </editor-fold> } |
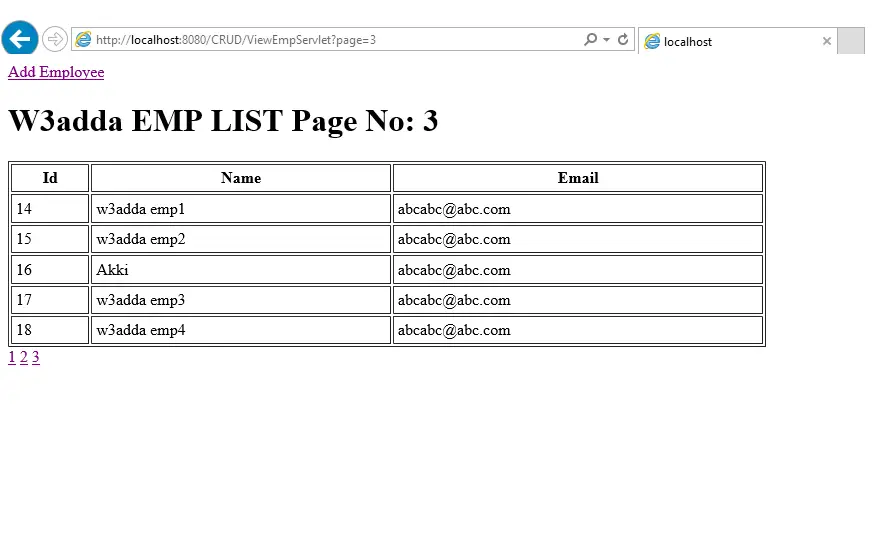
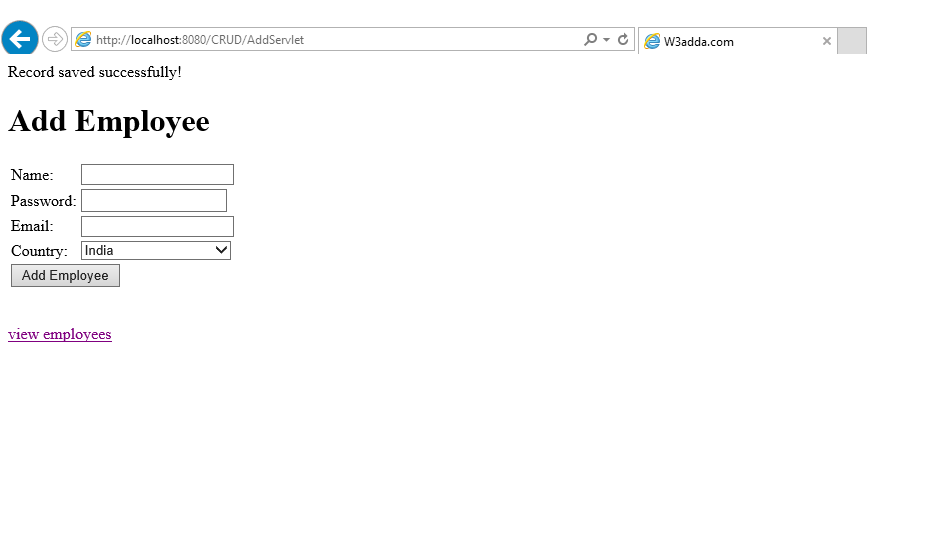
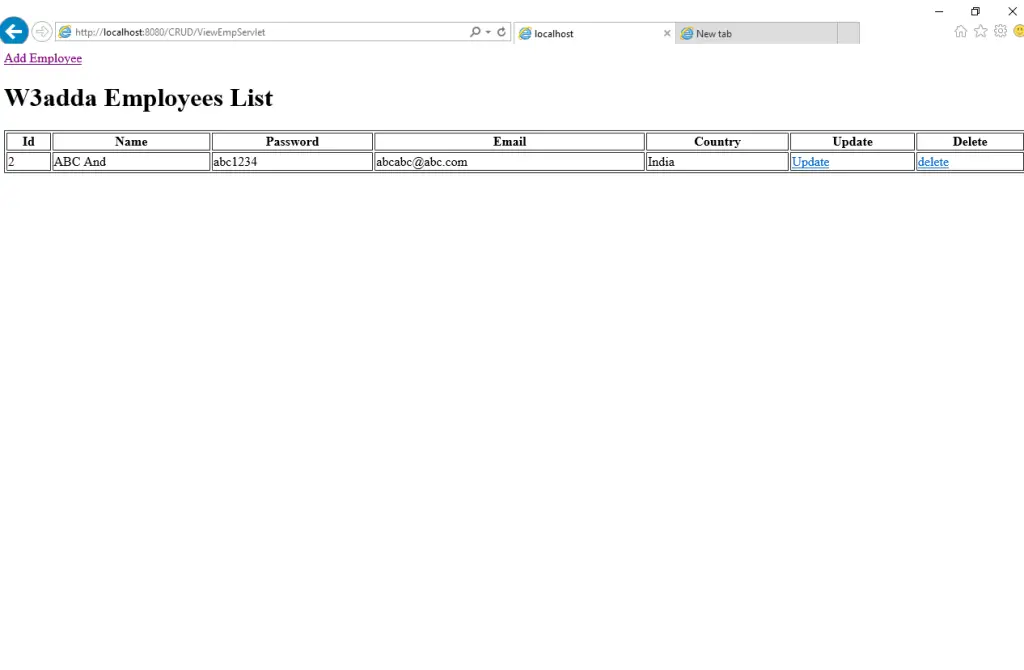
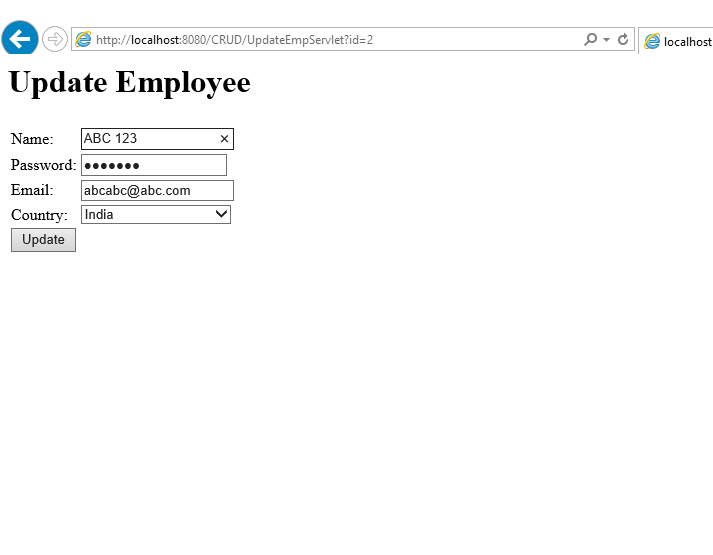
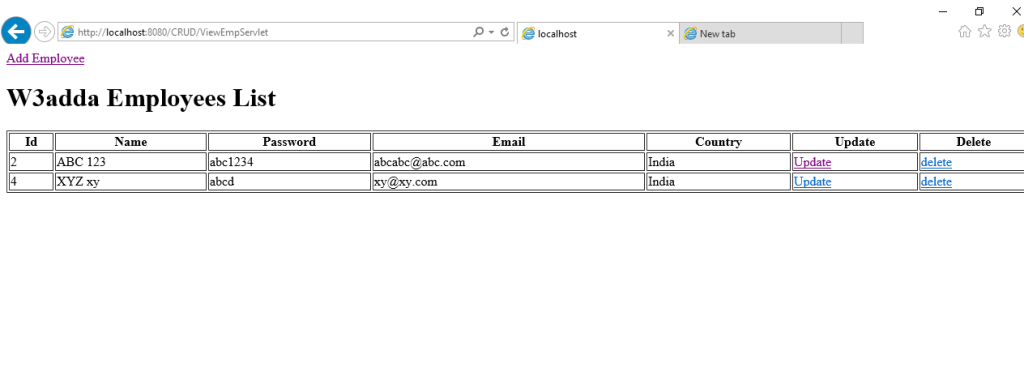
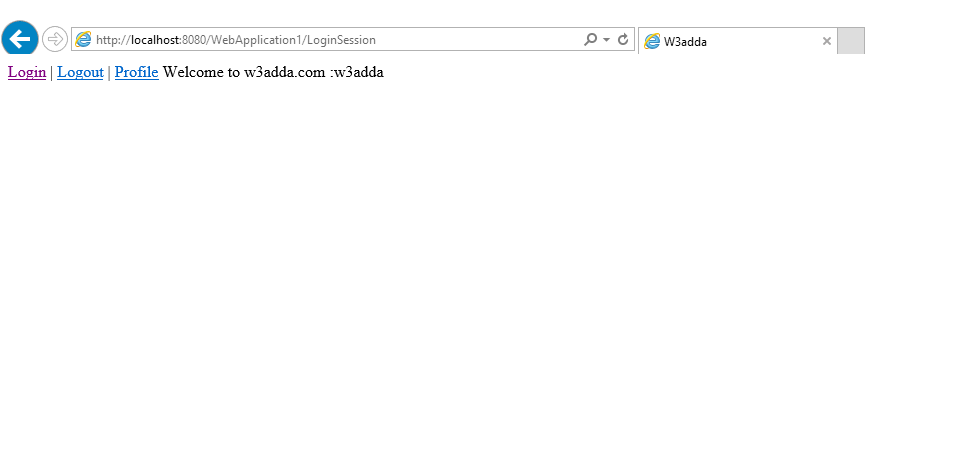
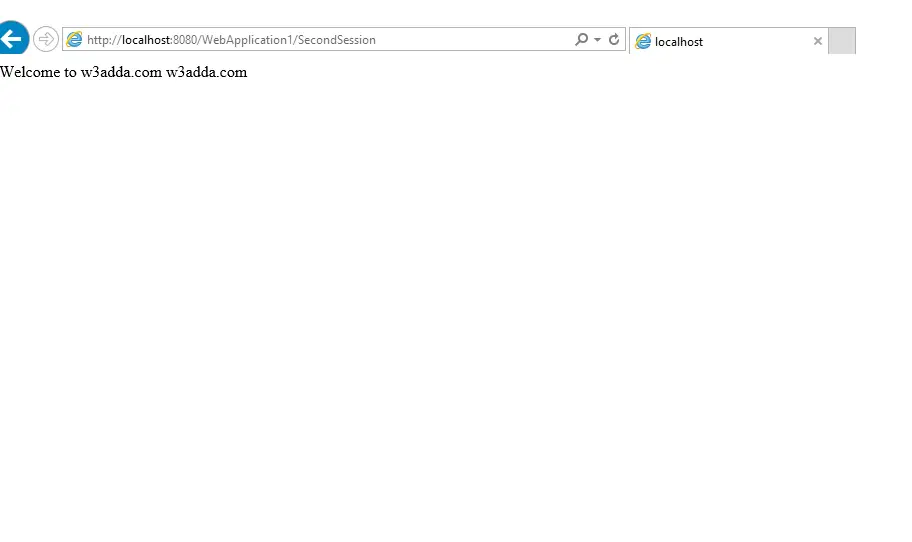
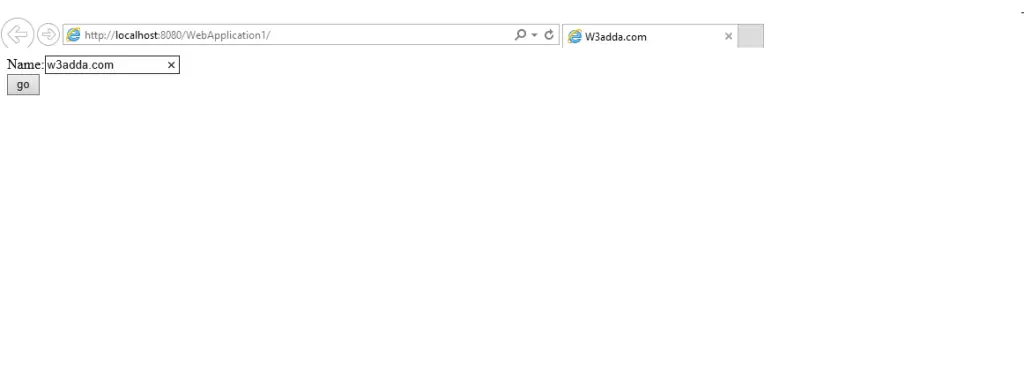
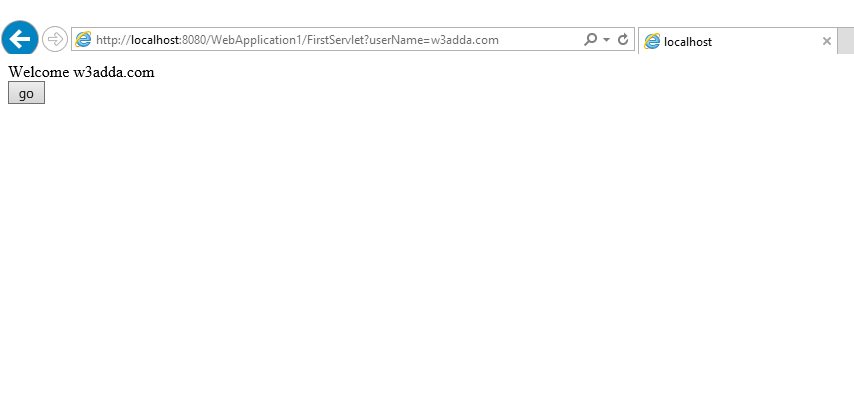
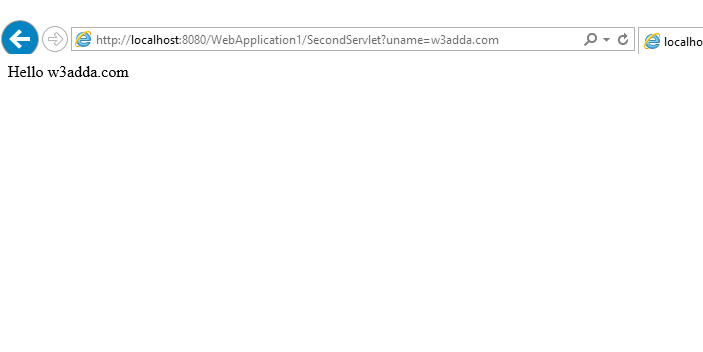
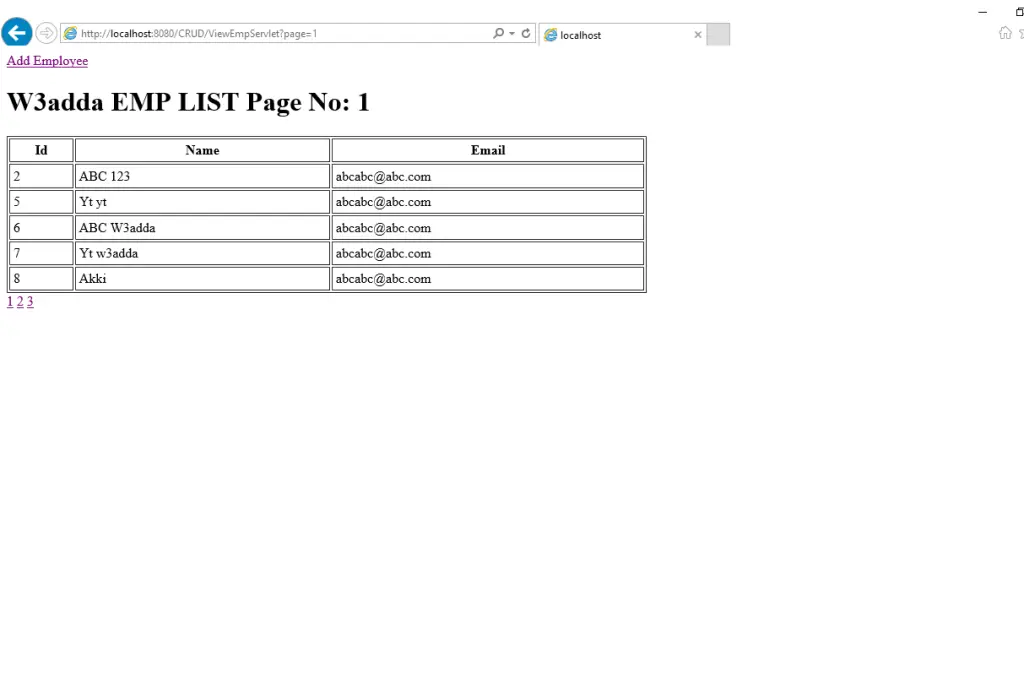
Output:-
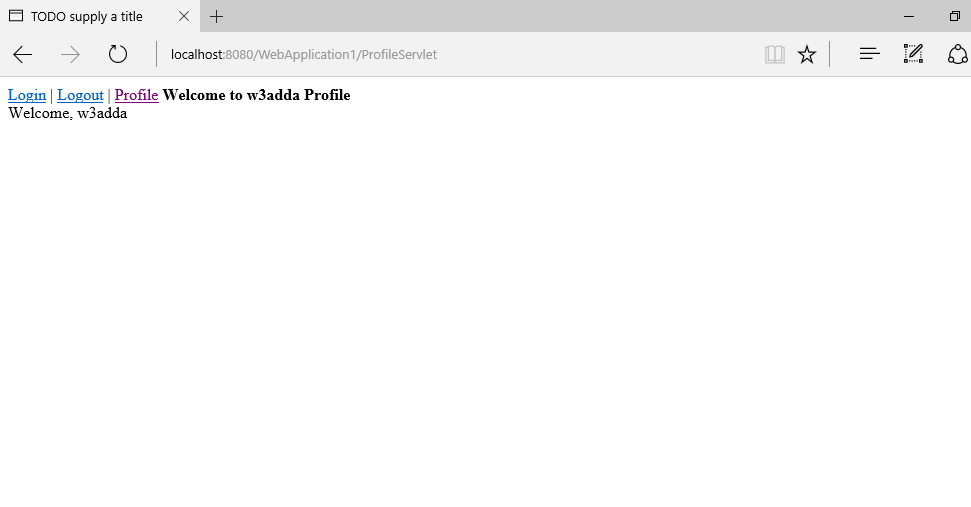
We are done with coding part now check the output in below images, you can also implement this thing in our CRUD example, just need to add one more method in DB handler class and get this thing.
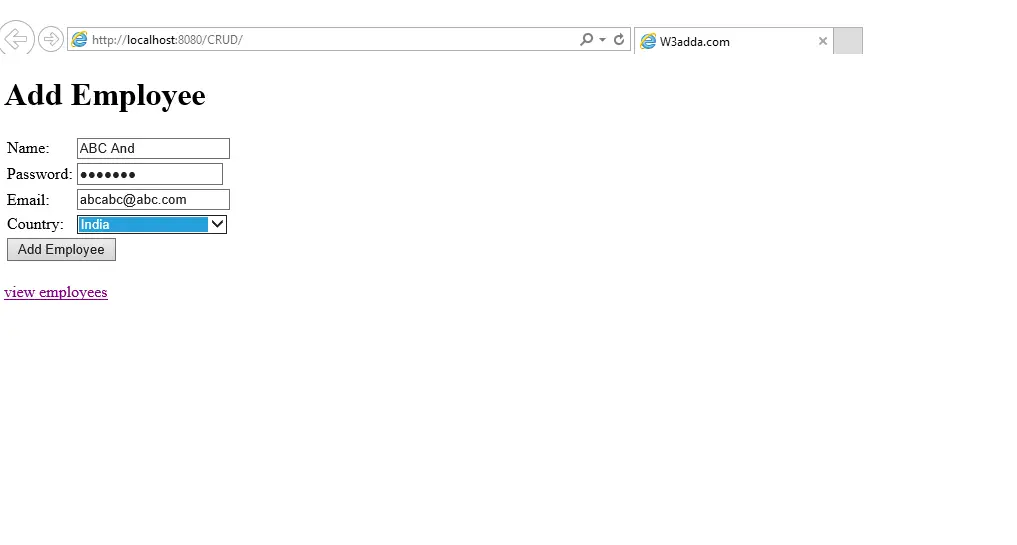
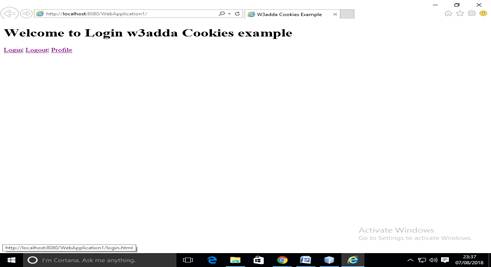
Screen 1:-
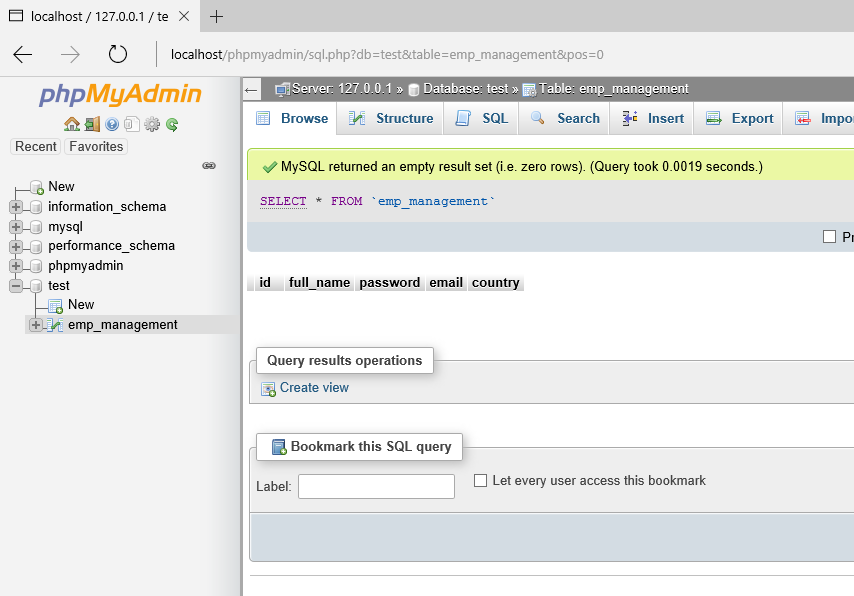
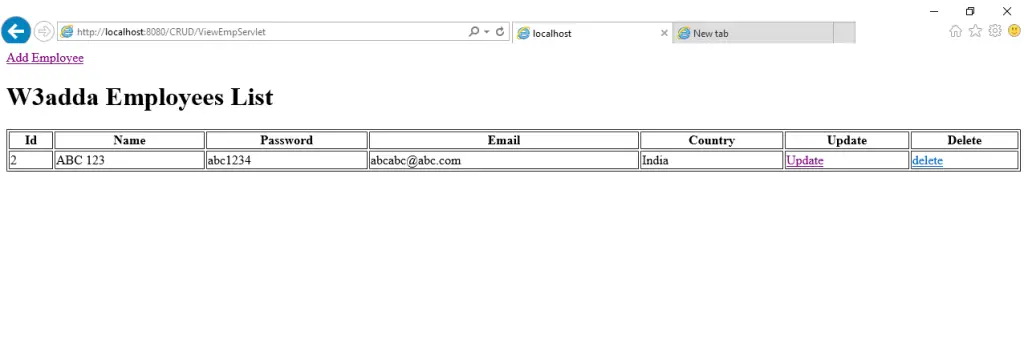
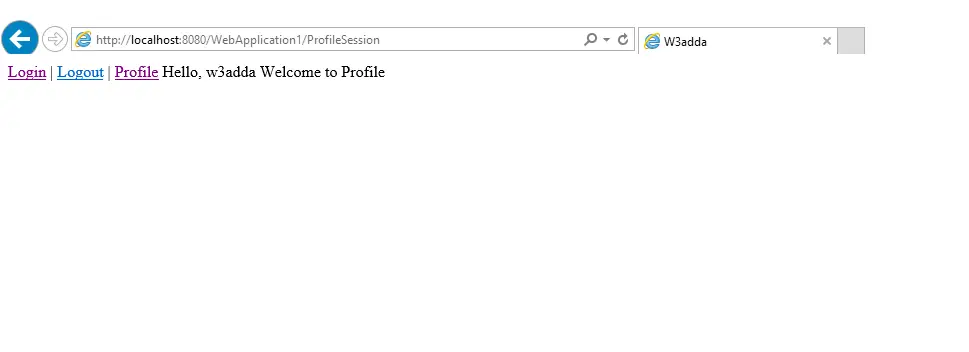
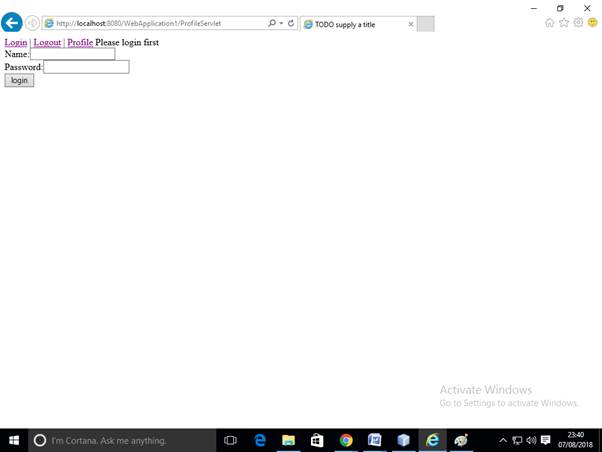
Screen 2:-

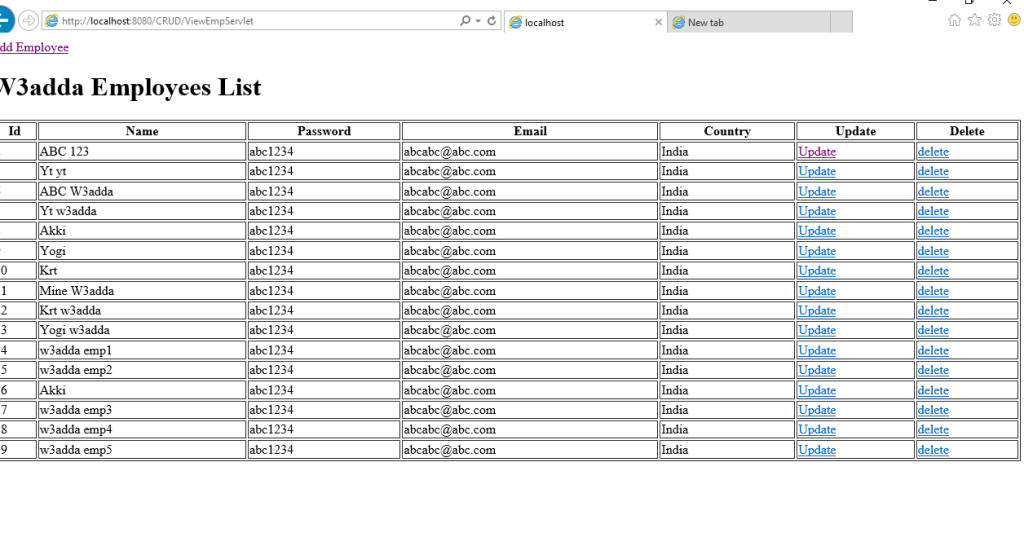
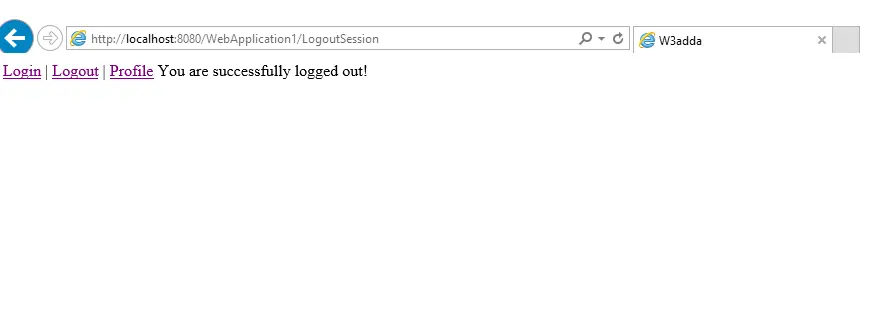
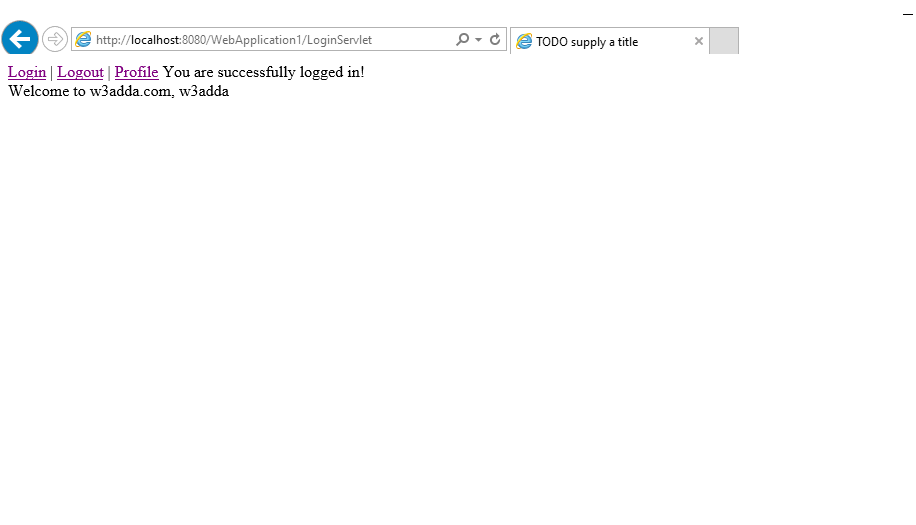
Screen 3:-