
In this tutorial you will learn about the Swift installation and its application with practical example.
Swift installation
In this article you will find information about the how to setup local Swift programming environment. In order to setup Swift Programming environment you need to have latest version of Xcode installed installed, so if you don’t have it installed, check the following instruction to get XCode installed. If you’ve already have it installed in your system, you can skip this part.
Step 1:- Log in to the Apple Developer’s Account
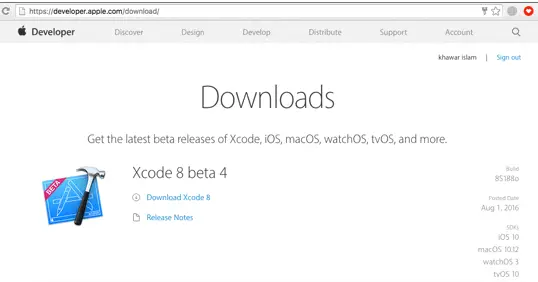
Step 2:- Download the latest version of Xcode Setup from the official Apple’s website, link given below –
|
1 |
https://developer.apple.com/download/ |
Step 3:- Run the Xcode installer (the .dmg file you downloaded in the previous step.)
Step 4:- Follow the installation wizard and accept the terms and conditions to install Xcode.
Let’s create a simple “Hello World” program in Swift, Swift Playground is the easiest way to run Swift code. Swift Playgrounds allows you to interactively run the Swift code.
Step 5:- Launch the Xcode and click “Get started with a playground” in order to create a new playground

Step 6:- Enter playground name and save it.

Step 7:- Put the following lines of code in left hand side of the Swift Playground
|
1 2 |
import UIKit print("Hello World") |
Step 8:- You will see the following output in Right hand side of the Swift Playground
|
1 |
Hello World |
