
In this tutorial you will learn about the ReactJS State and its application with practical example.
ReactJS State
Most of the react components generally accepts props(similar to function parameters) and render it, but component with state allows to track component’s internal state which may change over time. Like props, state is also used to hold information about the react component. But, the kind of information it holds and the way how it is handled is different. State is a private feature that refers to the component’s local state or information, which can only be accessed and modified inside the component and directly by the component. It is basically an object of component class that holds some information about the component which may be modified over time as a result of some user actions or system events.
Defining ReactJS State
By default, a react component has no state, thus before we can use state we must have to first declare a default set of values to define component’s initial state.To define component’s initial state we must have to add a class constructor that assigns the initial state using this.state.
Example:-
|
1 2 3 4 5 6 7 8 9 10 11 12 13 |
class Hello extends React.Component { constructor(props){ super(props); this.state = { msg: "W3Adda" }; } render() { return <h1>Hello {this.state.msg}!</h1>; } } |
Here, before we set the state we are required to call super() in the constructor, because this is uninitialized before super() has been called.
Changing the state
A component state can be changed later by simply using setState() function, passing new state object as the argument. Let’s add a new method updateMsg in above example as following –
Example:-
|
1 2 3 4 5 |
updateMsg() { this.setState({ msg: "ReactJS" }); } |
We also have to bind the this keyword to the updateMsg method, otherwise we won’t be able to access this inside the updateMsg method. To do so, we will add following line of code in constructor –
|
1 |
this.updateMsg = this.updateMsg.bind(this); |
Now, our constructor will look like as following –
|
1 2 3 4 5 6 7 |
constructor(props){ super(props); this.state = { msg: "W3Adda" }; this.updateMsg = this.updateMsg.bind(this); } |
Next, we will add a button to the render() method, clicking on which will trigger the updateMsg() method. Now, our render() method will look like as below –
|
1 2 3 4 5 6 7 8 |
render() { return ( <div> <h1>Hello {this.state.msg}!</h1> <button onClick={this.updateMsg}>Click me!</button> </div> ) } |
Here’s the our entire component class look like –
|
1 2 3 4 5 6 7 8 9 10 11 12 13 14 15 16 17 18 19 20 21 22 23 24 25 |
class Hello extends React.Component { constructor(props){ super(props); this.state = { msg: "W3Adda" }; this.updateMsg = this.updateMsg.bind(this); } updateMsg() { this.setState({ msg: "ReactJS" }); } render() { return ( <div> <h1>Hello {this.state.msg}!</h1> <button onClick={this.updateMsg}>Click me!</button> </div> ) } } |
Step 1:- Let’s open src/app/index.js file that we created in myreact application.
Step 2:- Now, delete the existing code and put the following code in it and save it.
|
1 2 3 4 5 6 7 8 9 10 11 12 13 14 15 16 17 18 19 20 21 22 23 24 25 26 27 28 29 30 31 |
var React= require('react'); var ReactDOM = require('react-dom'); class Hello extends React.Component { constructor(props){ super(props); this.state = { msg: "W3Adda" }; this.updateMsg = this.updateMsg.bind(this); } updateMsg() { this.setState({ msg: "ReactJS" }); } render() { return ( <div> <h1>Hello {this.state.msg}!</h1> <button onClick={this.updateMsg}>Click me!</button> </div> ) } } ReactDOM.render(<Hello />, document.getElementById('hello-world-wrapper')); |
We are mounting our “Hello” component to a DOM Element that we have available in src/index.html file.
Step 3:- Let’s open src/index.html file that we created in myreact application.
Step 4:- Now, delete the existing code and put the following code in it and save it.
|
1 2 3 4 5 6 7 8 9 10 11 12 13 14 |
<!DOCTYPE html> <html> <head> <meta charset="utf-8"> <title>ReactJS - State</title> </head> <body> <div id="hello-world-wrapper"> <!-- React stuff goes here --> </div> <script src="/app/bundle.js"></script> </body> </html> |
Step 5:- Let’s open the terminal again, change directory to your project folder and type the following command in order to run the server.
|
1 |
F:\reactprj\myreact>npm start |
Step 6:- Now open the following URL in browser to view the output
http://localhost:1234
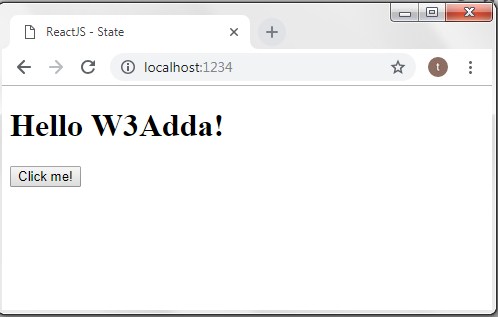
Step 7:- You will see the following screen.
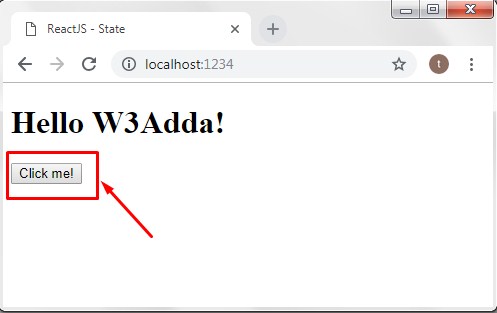
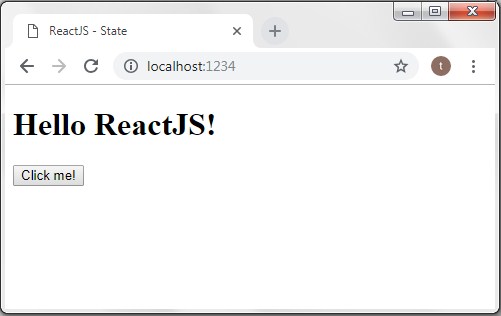
Step 8:- Now, click on the “Click me!” button, you will see the following screen.
Difference Between Props and State
- Props are immutable, while state is an observable object that is to be used to hold data that may change over time.
- Props are defined when components are created, while state is defined inside the component.
- Props can be validated but there is no way to validate state.
- Sate is a private feature and can only be accessed and modified inside the component.
