In this tutorial you will learn about the Joomla Installation and its application with practical example.
Server Requirements for Joomla 3.x
PHP – PHP 5.6+ (Recommended) or PHP 5.3.10+ (Minimum)
Database –
- MySQL 5.5.3+(Recommended), MySQL 5.1(Minimum)
- SQL Server 10.50.1600.1+(Recommended), SQL Server 10.50.1600.1(Minimum)
- PostgreSQL 9.1 +(Recommended), PostgreSQL 8.3.18(Minimum)
Web Server –
- Apache 2.4 +(Recommended), Apache 2.0(Minimum)
WAMP (Windows), LAMP (Linux), XAMPP (Cross Platform), MAMP (Macintosh) - Nginx 1.8 +(Recommended), Nginx 1.0 (Minimum)
- Microsoft 7(Recommended), Microsoft 7(Minimum)
Operating System – Cross-platform
Browser Support – Firefox, Google chrome, IE (Internet Explorer)
SSL (Secure Socket Layer) – A valid SSL certificate is required for HTTPS
Installing Joomla
Step 1:- Download the Joomla CMS from official Joomla website, link given below –
|
1 |
https://downloads.joomla.org/ |
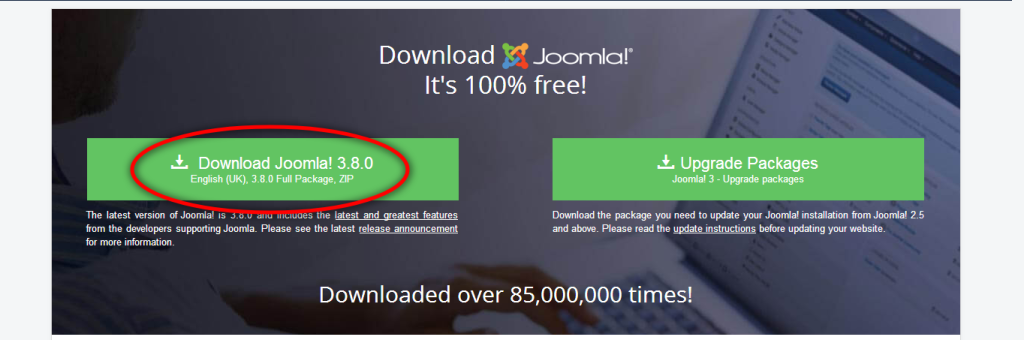
Once you open the link, there you will see the option to download the latest version of Joomla!, In this tutorial we are using Joomla 3
Step 2:- Extract the downloaded folder and rename the folder name (example: joomla) and place it inside C:\xampp\htdocs folder in your local server or in the root directory of your web server(public_html)
Step 3:- Create a MySQL database for Joomla, Once you created the MySQL Database for joomla, make sure to note down the database name, database username and password. These details will be required during installation process.
Step 4:- Open your browser, and navigate to following link –
|
1 |
http://localhost/<your_joomla_project_folder> |
Replace “<your_joomla_project_folder>” with your joomla project name that you have created in step 2, as you open the link, you will be taken to the first screen of the Joomla Installation Wizard. From this step onwards, you have to follow the Joomla Installation Wizard. You are required to fill all fields marked with Asterisk(*).

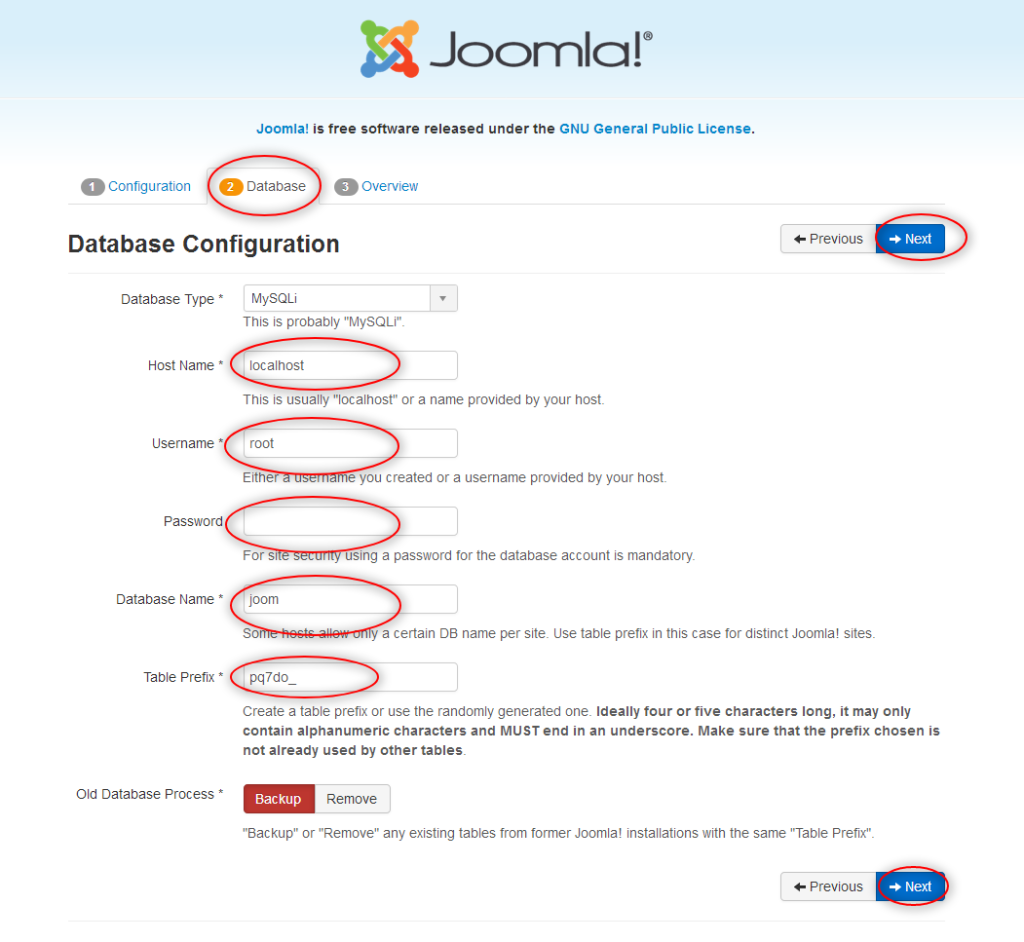
Step 5:- joomla database details
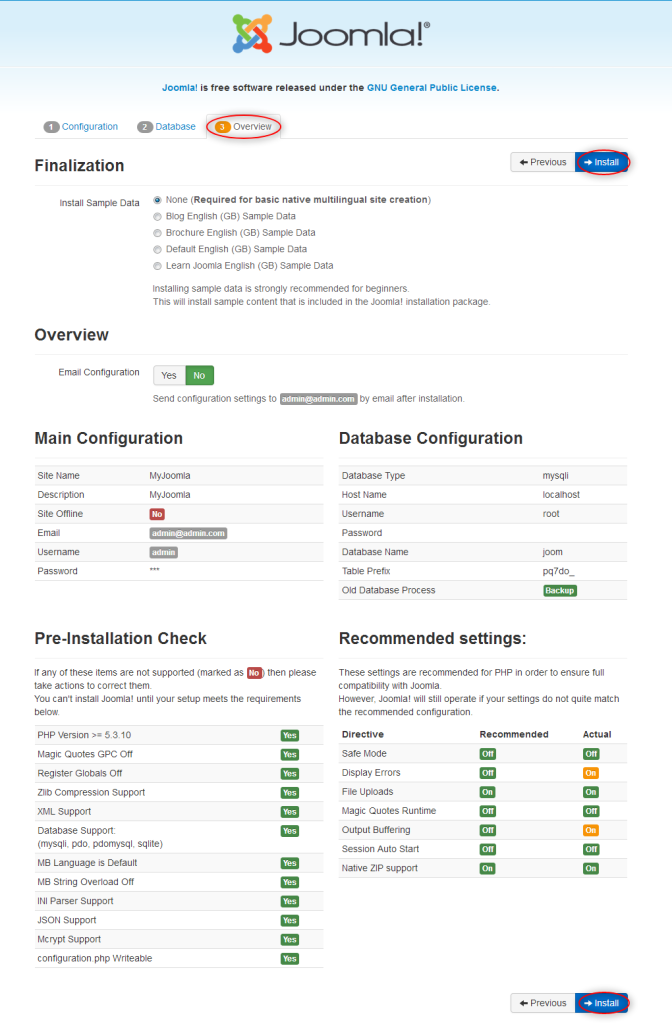
Step 6:- Joomla overview
Step 7:- Installation done
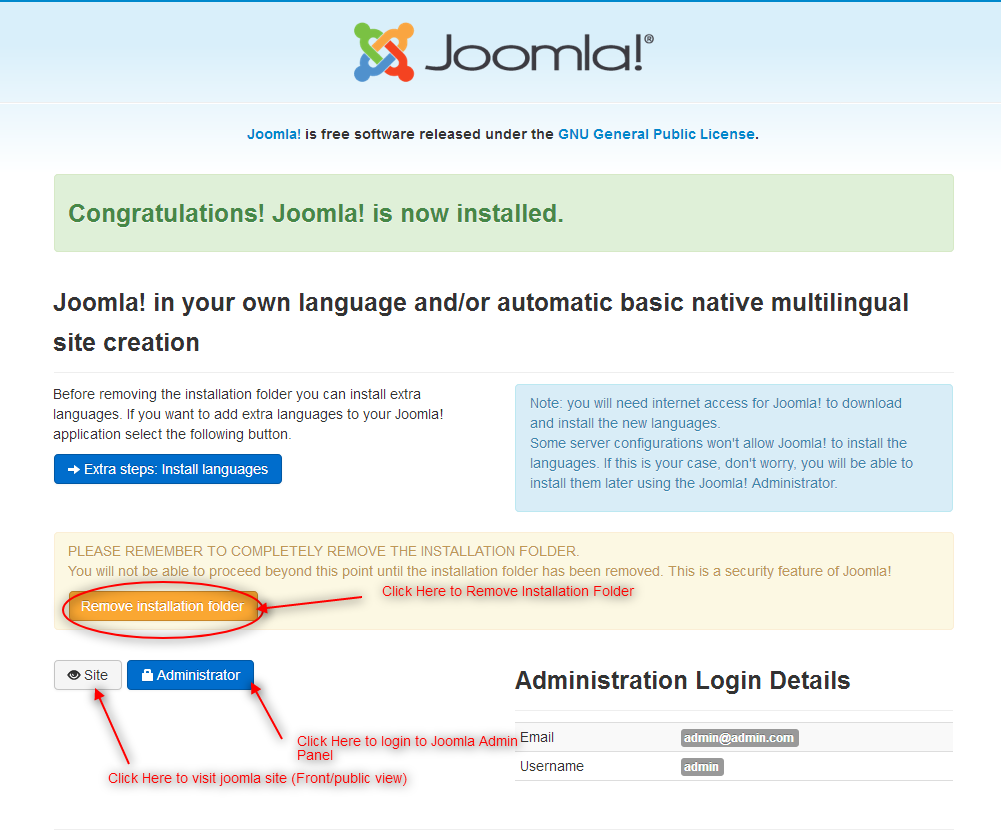
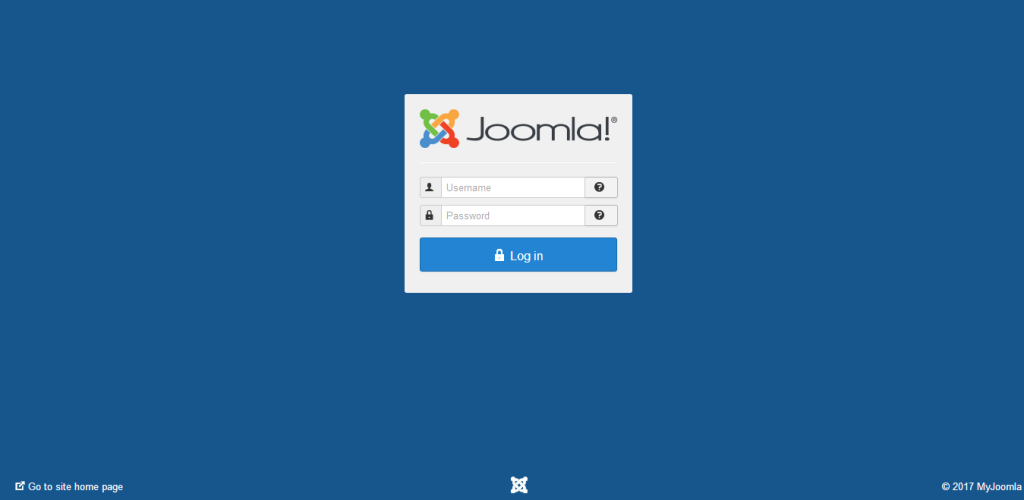
Step 8:- Joomla Admin Panel
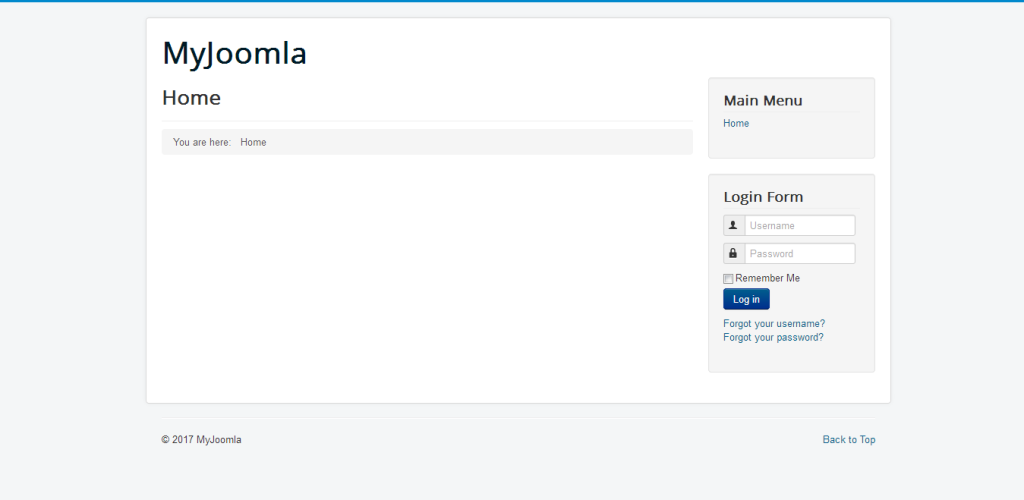
Step 9:- Joomla site public view