
In this tutorial you will learn about the Java Installation and its application with practical example.
Installing Java In Windows
Get Simple Steps for Java Installation into Your Machine:
In order to set up a Java development environment you need to have Java installed, so if you don’t have it installed, check the following instruction to get Java installation. If you’ve already have installed Java Language in your system, you can skip this part.
Java is freely available on Oracle’s website, and you can download and install it for free.
Step 1:- Download the Java Development Kit (JDK) from the official Oracle website, link given+ below –
|
1 |
https://www.oracle.com/technetwork/java/javase/downloads/index.html |
Step 2:- Run the installer (the .exe file you downloaded in the previous step.)
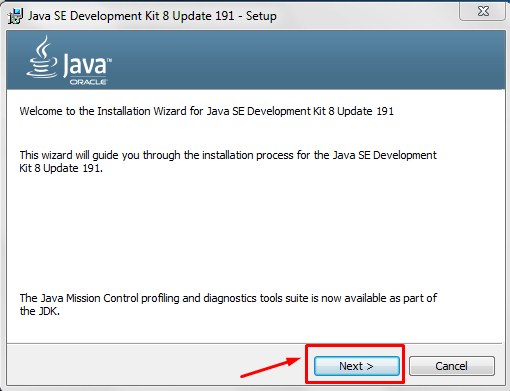
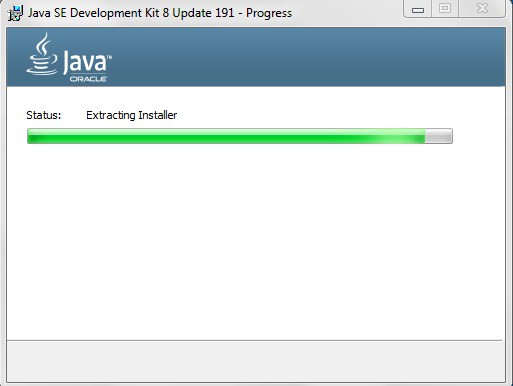
Step 3:- Follow the installation wizard to install Java.
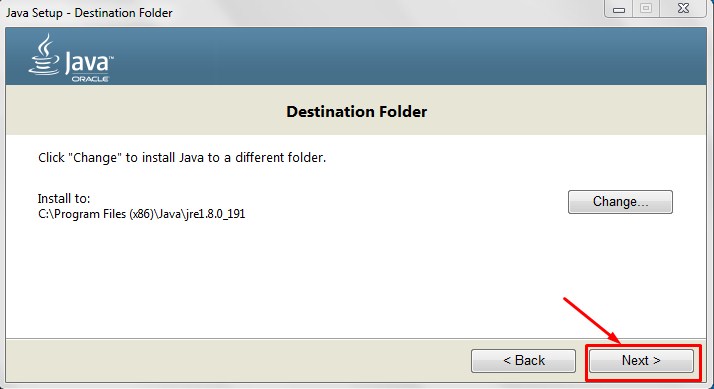
Step 4:- Select the installation path and click next.
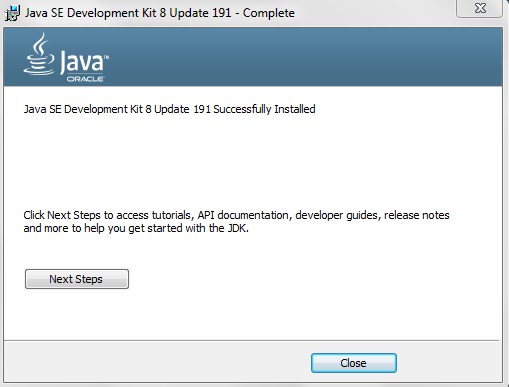
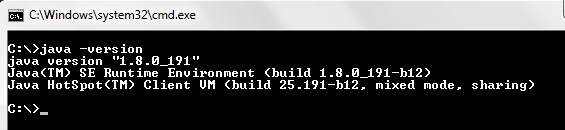
Step 5:- Now, lets open the terminal and run the following command in order to verify the Java installation.
|
1 |
java -version |
Set Path Environment Variable
Once the installation is done, you are required to set the PATH environment variable in order to run any of the java executable (javac.exe, java.exe, javadoc.exe, and so on) from any directory.
Step 1:- Assuming that you have installed Java in the “C:\Program Files\Java\jdk1.8.0_91\bin” directory
Step 2:- Right-click on “My Computer” and select “Properties”
Step 3:- Click on the ‘Environment variables’ button under the ‘Advanced’ tab.
Step 4:- Now add or edit the ‘Path’ variable so that it also contains the java path as follows –
|
1 |
C:\Program Files\Java\jdk1.8.0_91\bin |
