
In this tutorial you will learn about the Julia Installation and its application with practical example.
Julia Installation
Installing Julia In Windows
In order to setup Julia Programming development environment you need to have Julia installed, so if you don’t have it installed, check the following instruction to get Julia Language installed. If you’ve already have installed Julia Language in your system, you can skip this part.
Step 1:- Download the Julia Setup from the official Julia Language website, link given below –
|
1 |
https://julialang.org/downloads/ |
Step 2:- Run the installer (the .exe file you downloaded in the previous step.)

Step 3:- Follow the installation wizard to install Julia.

Step 4:- Select the Installation path and click next.

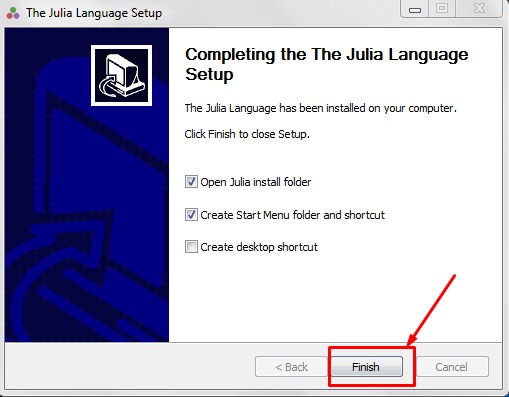
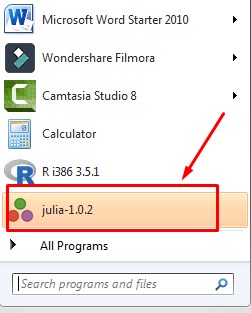
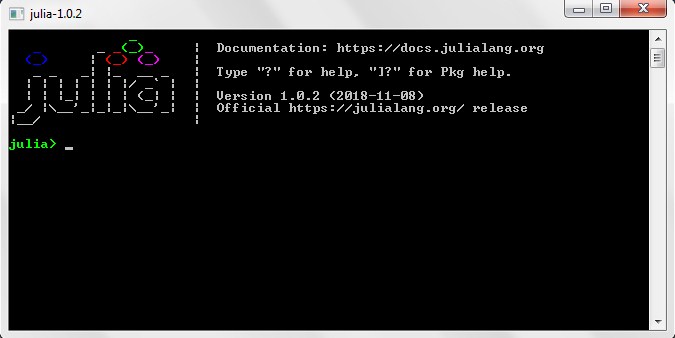
Step 5:- Now, you can open the Julia GUI from here –
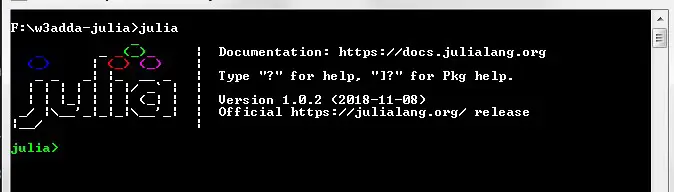
Step 6:- If you want to execute Julia Script from command prompt, “C:\julia\Julia-1.0.2\bin” has to be added to environment variables in advanced system properties.
Step 7:- Now, lets open the terminal and run the following command in order to verify the Julia installation.
|
1 |
julia |
Installing Julia on Ubuntu
You can run the following commands on a Ubuntu system to install Julia –
|
1 2 3 4 5 6 |
sudo add-apt-repository ppa:staticfloat/juliareleases sudo apt-get update sudo apt-cache show julia sudo apt-get install julia julia-doc -y julia -E 'Pkg.update()' julia |
