
In this tutorial you will learn about the Android Things Environment Setup and its application with practical example.
- Step : Create Android Things Account for Raspberry Pi :- First we need to create account with Android things for Raspberry Pi. Visit https://partner.android.com/things/ and go to console, Here you need to create your developer account from your Gmail account or Simply Sign In with Google ID.
After sign with Google Id you will find below screen
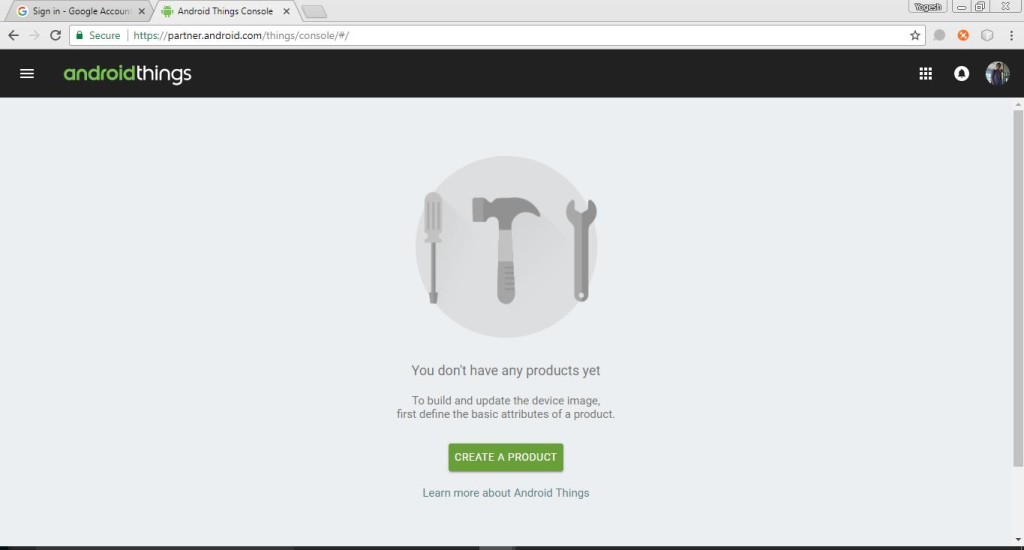
Simply click on Create A Product.
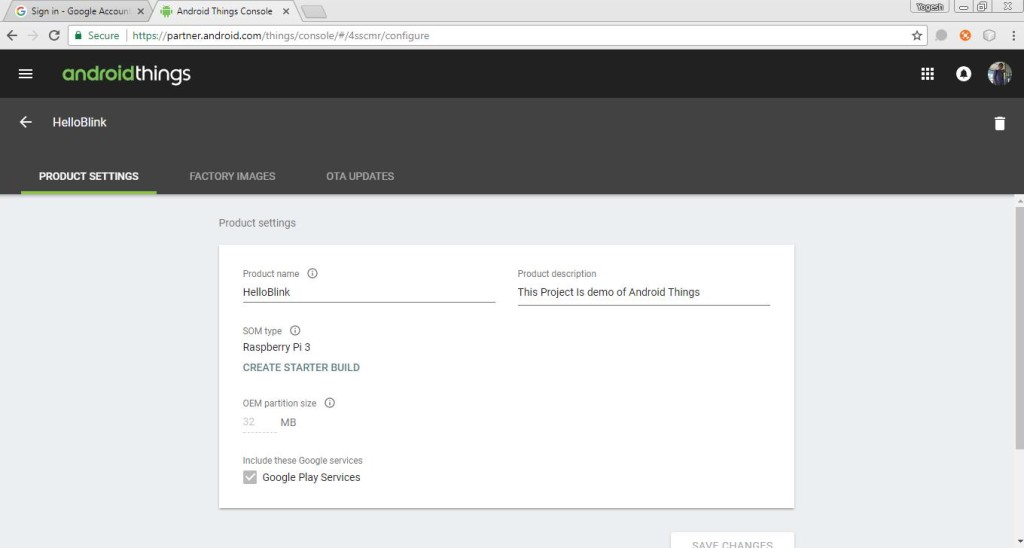
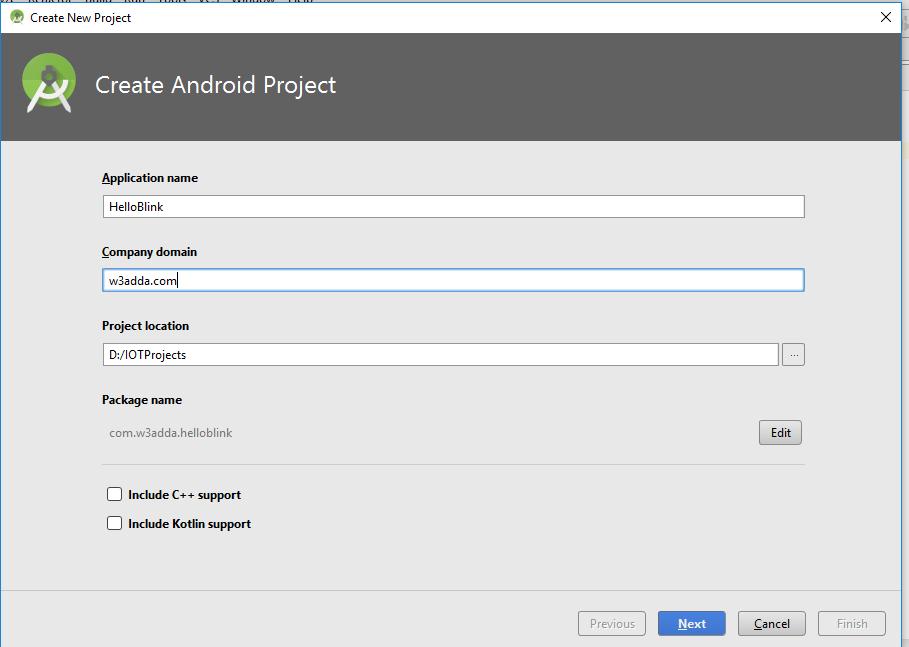
- Step: Create New Product : When you will click on Create A Product You will get A popup screen in which you have to fill some details for creation of your product. The Screen will be like below Image.

Enter Your Product Name , You can select SOM(System On Module) type , Here we used Raspberry Pi 3 so I select it and finally enter Product Description. Click on Create Button.
First time the screen will be shown like below image, From here you can Update your project details.
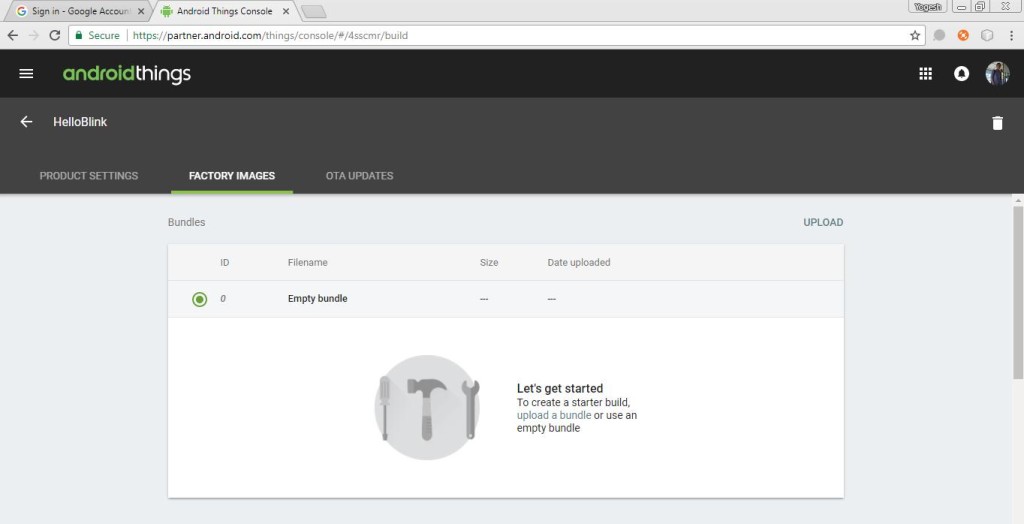
# Just go to on Factory Images, You will get screen like below image
# Scroll down this Page you will find Android things version, like below Image
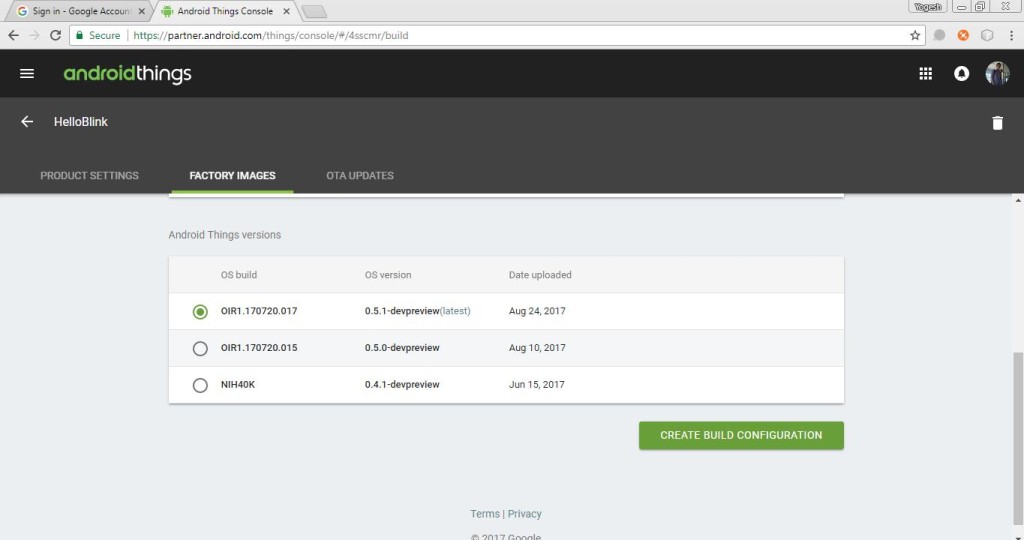
#Just Click on Create Build Configuration, You will get new Option in Factory Image tab, Like below Image.

# Just click on Download build. After Download you have to extract that file, when your extraction is completed you will get .img file(a.k.a OS image file) like below image.

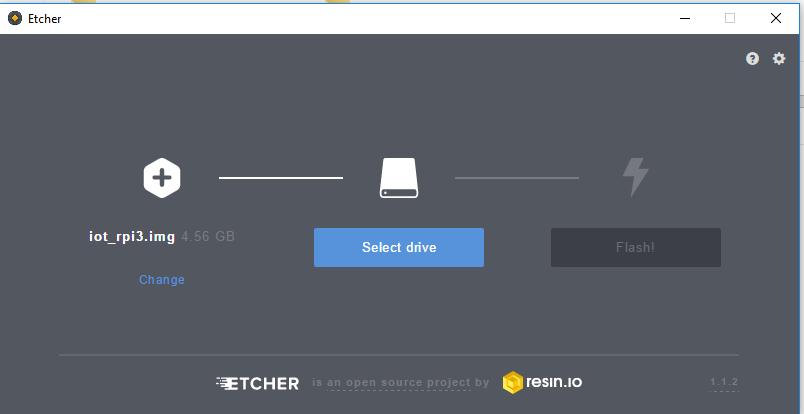
Step: Need to Burn this image to SD card : Just Visit https://etcher.io/ website and download software. This is open source software by resin.io. After downloading open etcher. You will get screen like below image

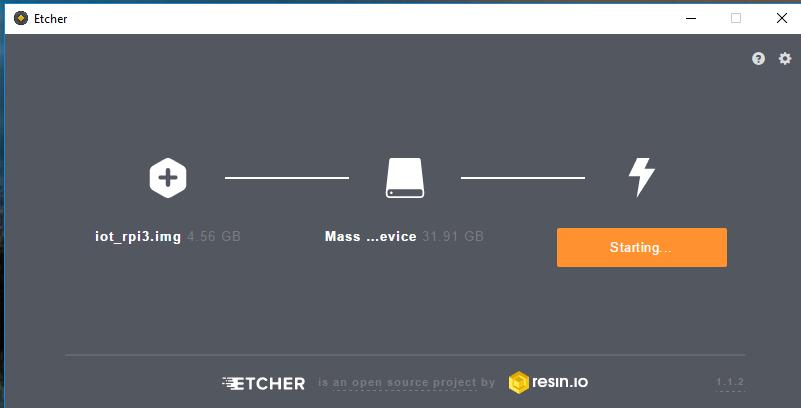
#Select System Image(.img) file for burning it on your SD card, like below Image
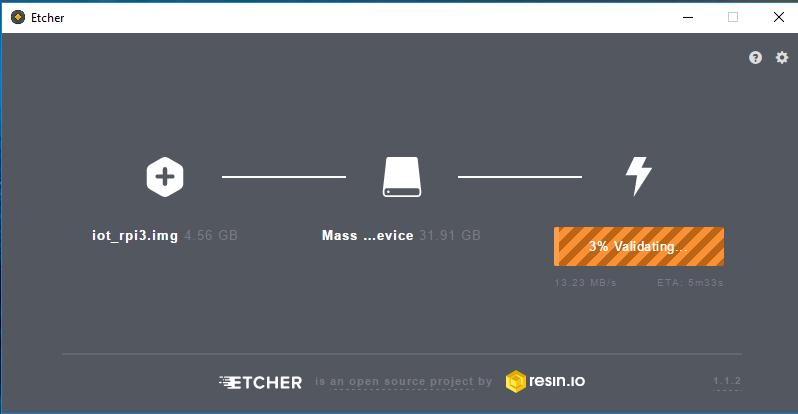
#Select your SD Card for Burning OS on SD Card, After that click on Flash and wait till auto ejected by etcher.
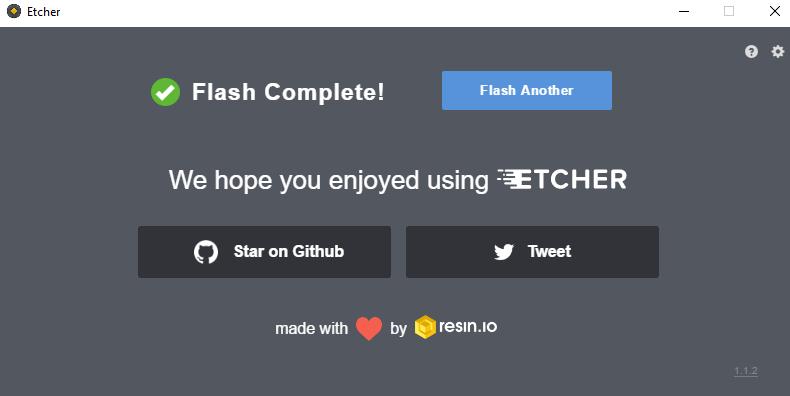
So you have burned your OS on SD card now just follow 4th step.
4th Step: Raspberry Pi 3 Setup:
1 : After Burning process etcher will unplugged SD Card, Just remove from your Laptop or Desktop and insert into Raspberry Pi 3.
2 : Connect Raspberry Pi 3 to Ethernet.
3 : Power it up with 5V adapter.
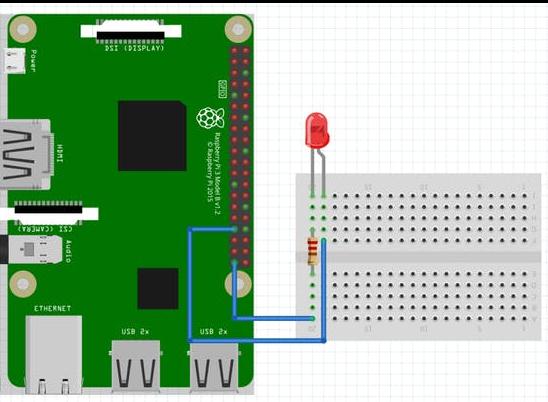
4: Do wiring for LED like below image
5th Step : Working With Android Studio: Now we have to do code on android for out first project. Before start coding you must have to upgrade your Android Studio version if it is not. I am working on
Android Studio 3.0. After Upgradation Just create new project.
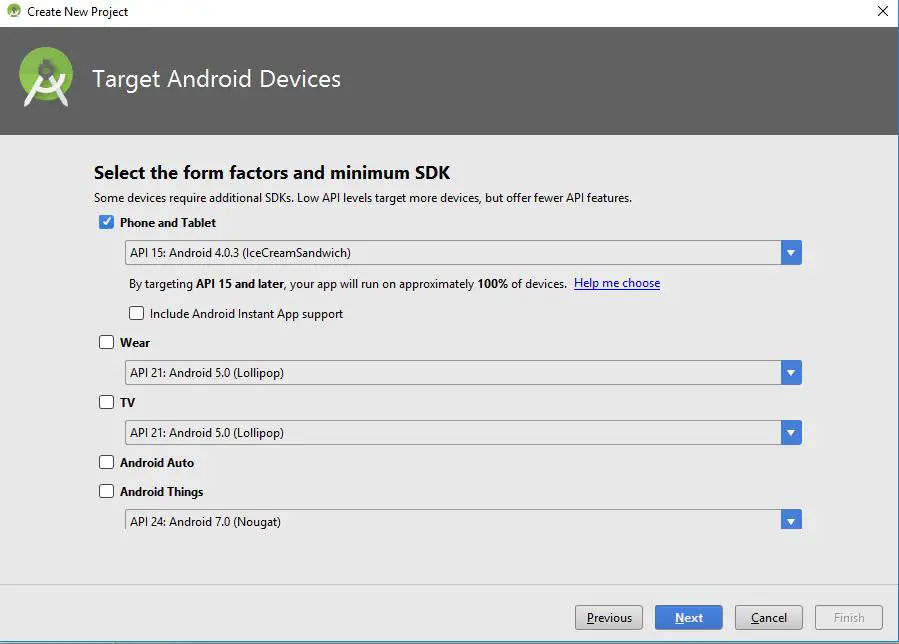
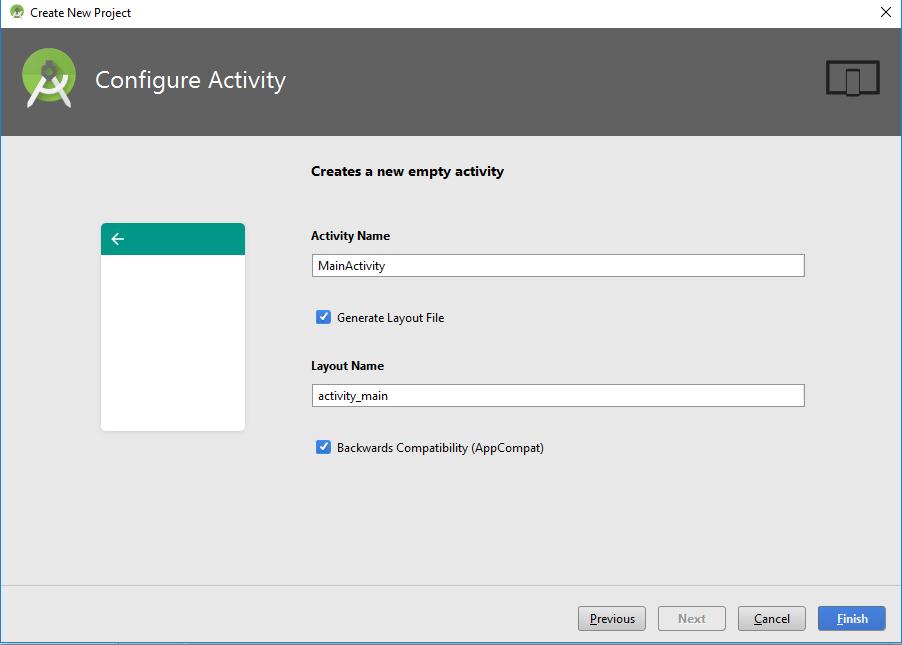
Follow the steps like below Images.
//Image of creating project
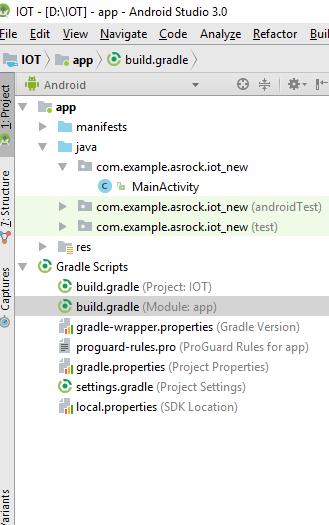
#After creating project now we need to add some dependencies open your build.gradle(Module: app)
#Build Gradle code:
|
1 2 3 4 5 6 7 8 9 10 11 12 13 14 15 16 17 18 19 20 21 22 23 24 25 26 27 28 29 |
apply plugin: 'com.android.application' android { compileSdkVersion 26 buildToolsVersion '26.0.2' defaultConfig { applicationId "com.w3adda.helloblink" minSdkVersion 26 targetSdkVersion 26 versionCode 1 versionName "1.0" testInstrumentationRunner "android.support.test.runner.AndroidJUnitRunner" } buildTypes { release { minifyEnabled false proguardFiles getDefaultProguardFile('proguard-android.txt'), 'proguard-rules.pro' } } } dependencies { implementation fileTree(dir: 'libs', include: ['*.jar']) testImplementation 'junit:junit:4.12' androidTestImplementation 'com.android.support.test:runner:1.0.1' androidTestImplementation 'com.android.support.test.espresso:espresso-core:3.0.1' compileOnly 'com.google.android.things:androidthings:+' provided 'com.google.android.things:androidthings:0.5.1-devpreview' } |
# Main Activity : Now We have to do code for MainActivity.java. Complete code of Main Activity is below
|
1 2 3 4 5 6 7 8 9 10 11 12 13 14 15 16 17 18 19 20 21 22 23 24 25 26 27 28 29 30 31 32 33 34 35 36 37 38 39 40 41 42 43 44 45 46 47 48 49 50 51 52 53 54 55 56 57 58 59 60 61 62 63 64 65 66 67 68 69 70 71 72 73 74 75 76 77 78 79 80 81 |
package com.w3adda.helloblink; import android.app.Activity; import android.os.Bundle; import android.os.Handler; import android.util.Log; import com.google.android.things.pio.Gpio; import com.google.android.things.pio.PeripheralManagerService; import java.io.IOException; public class MainActivity extends Activity { private static final String TAG = MainActivity.class.getSimpleName(); private static final int BLINK_MS = 1000; //Will Blink in every 1 Sec. private static final String GPIO_PIN_NAME = "BCM13"; // Physical Pin #33 on Raspberry Pi3 private Handler handler = new Handler(); private Gpio ledGpio; //LED variable @Override protected void onCreate(Bundle savedInstanceState) { super.onCreate(savedInstanceState); // Steps to Add a GPIO Connection to the Board // Step 1. Create GPIO connection. PeripheralManagerService service = new PeripheralManagerService(); try { ledGpio = service.openGpio(GPIO_PIN_NAME); // Step 2. Configure as an output. ledGpio.setDirection(Gpio.DIRECTION_OUT_INITIALLY_LOW); // Step 4. Repeat using a handler. handler.post(mBlinkRunnable); } catch (IOException e) { Log.e(TAG, "Error on PeripheralIO API", e); } } @Override protected void onDestroy() { super.onDestroy(); // Step 4. Remove handler events on close. handler.removeCallbacks(mBlinkRunnable); // Step 5. Close the resource. if (ledGpio != null) { try { ledGpio.close(); } catch (IOException e) { Log.e(TAG, "Error on PeripheralIO API", e); } } } private Runnable mBlinkRunnable = new Runnable() { @Override public void run() { // Exit if the GPIO is already closed if (ledGpio == null) { return; } try { // Step 3. Toggle the LED state ledGpio.setValue(!ledGpio.getValue()); // Step 4. Schedule another event after delay. handler.postDelayed(mBlinkRunnable, BLINK_MS); } catch (IOException e) { Log.e(TAG, "Error on PeripheralIO API", e); } } }; } |
6th Step : Before running your program you must have to establish a connection between Android Studio and Android Things(Raspberry Pi 3) so that we can debug our program. The mediator will be IP Address. Open your router panel to obtain IP for Raspberry Pi. Now check your Local IP. Suppose it is 192.168.1.3.
Now How to connect: We have ADB (Android debug Bridge) tool. It will act as a bridge between or Android Things and Android Studio and it also help us to run our program on Raspberry Pi 3.
# Open command Prompt: Just connect adb with IP using below command on Command Prompt
|
1 |
C:\Users\Asrock\AppData\Local\Android\sdk\platform-tools>adb connect 192.168.1.26(IP Address of Raspberry Pi 3 or Any Android things device). |
![]()
After successful connection just run your program. You will get your output on LED.
