
In this tutorial you will learn about the Android Environment Setup and its application with practical example.
Android Studio Overview
1.Android Studio Introduction:
Android Studio is an IDE(Integrated Development Environment) for development of Android Application, Its an Official IDE for Android. We can develop any type of application for Android Devices like Watch,Mobile,TV , etc. It works on IntelliJ IDEA.
2.Requirements:
All Required Tools are Open Source , We do not need to pay for these tools.
Required tools are listed below.
1.Java Development Kit(JDK)
2.Java Runtime Environment(JRE)
3. Android Studio
Before Installation of Android Studio We need to download JDK from this Official Web URL: http://www.oracle.com/technetwork/java/javase/downloads/jdk8-downloads-2133151.html .
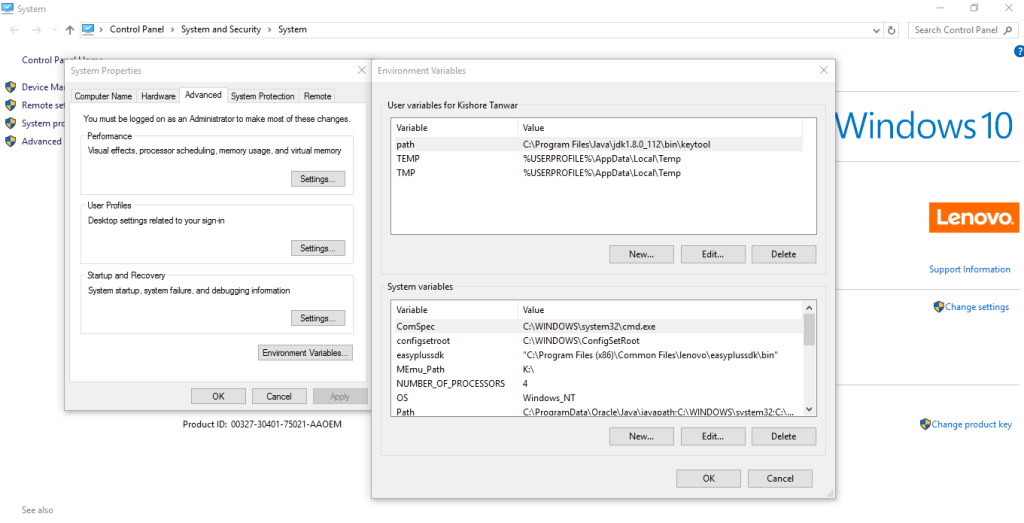
After Download We have to Install and setup it into Environment variable of system
3.Installation
You Can Download Latest Version Of Android Studio From below URL
https://developer.android.com/studio/index.html
After installation Let’s launch Android Studio .exe file ,As I mentioned above that we need JDK before Installation of Android Studio, I hope you are done with that.
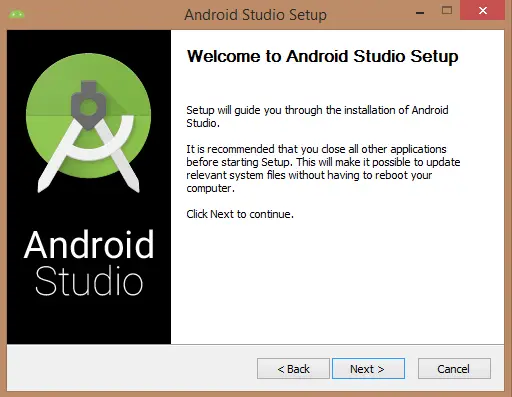
Let’s Click on Next, If you did not set JDK path in environment variable so no need to worry android studio will give you an option for set your JDK path like below Image

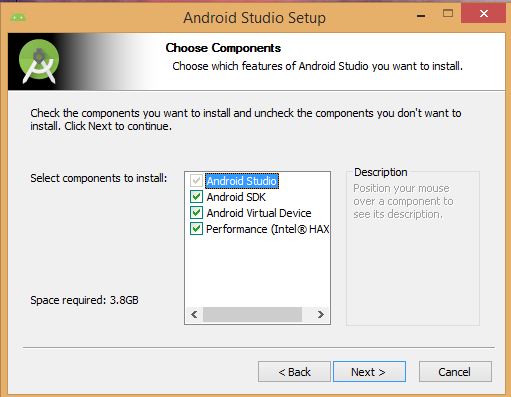
After Selecting Path of JDK click on Next. Here Android Studio will provide you some option that are using for App Development. Below Image has checked Android SDK, Android Virtual Device and Performance these options are required for Develop an APP.
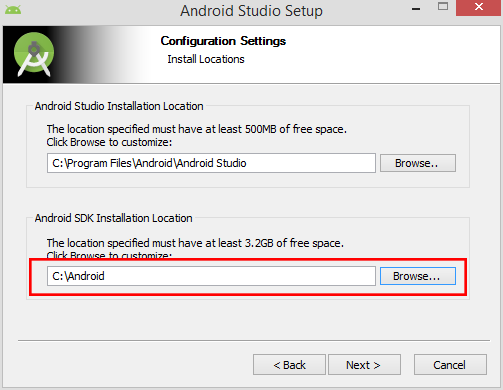
Specify path for Android Studio and Android SDK Wherever you want to keep this setup
At the Last It would extract Android SDK Package in our system, It will take time to finish.
After extracting Click on Next and then Finish setup, Now you are done with Installation, Project Creation Screen will appear like below Image
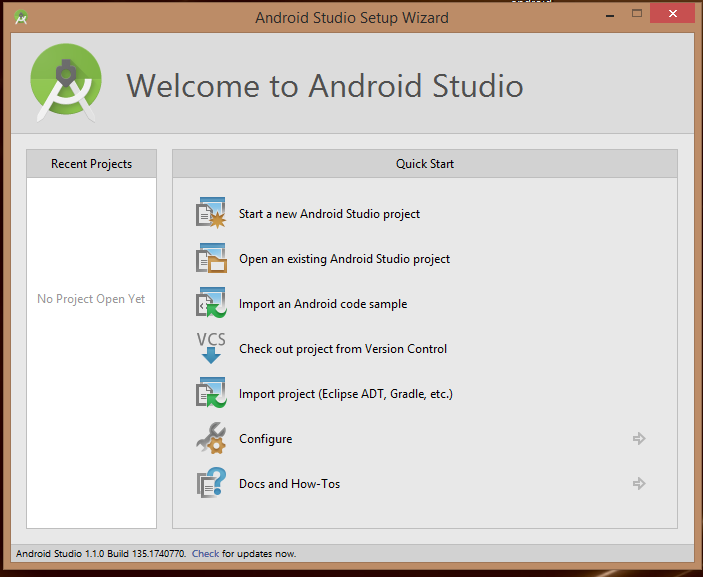
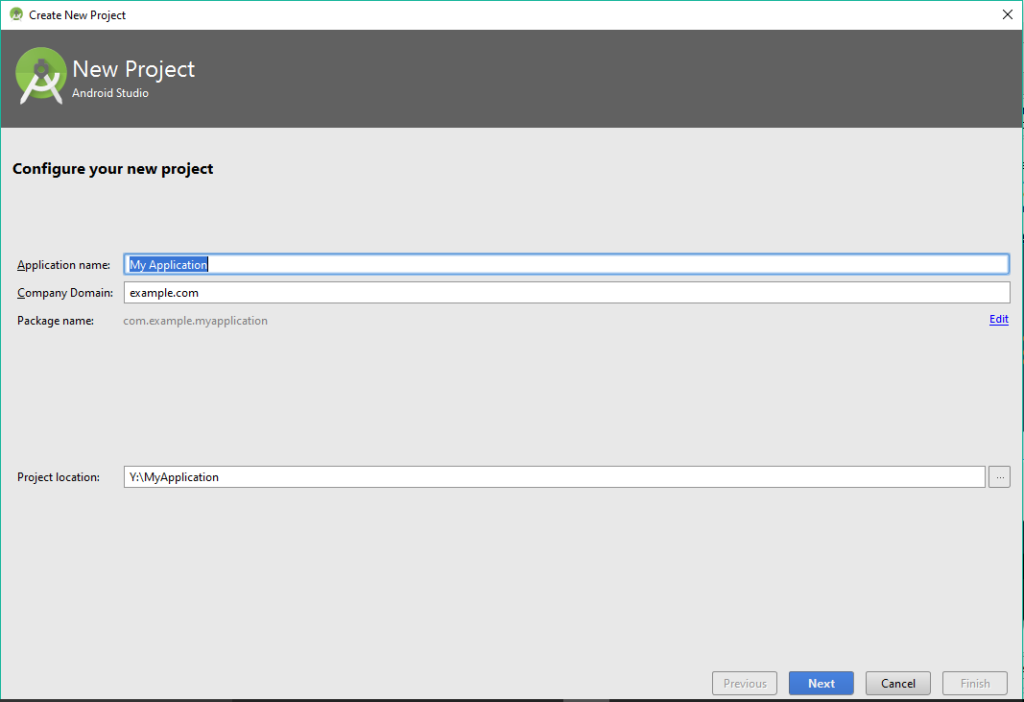
Now let’s start a new project with Android Studio. Write your first Application Name then Company
Domain, Project Location where you want to keep your Project(Warning: Please do not select C drive for storing your project)
After feeling all information you need to select the form factors where your app will run on ,Here you need to select Minimum SDK ,As mentioned in below image that Lower API level target more device so select Lower API Level.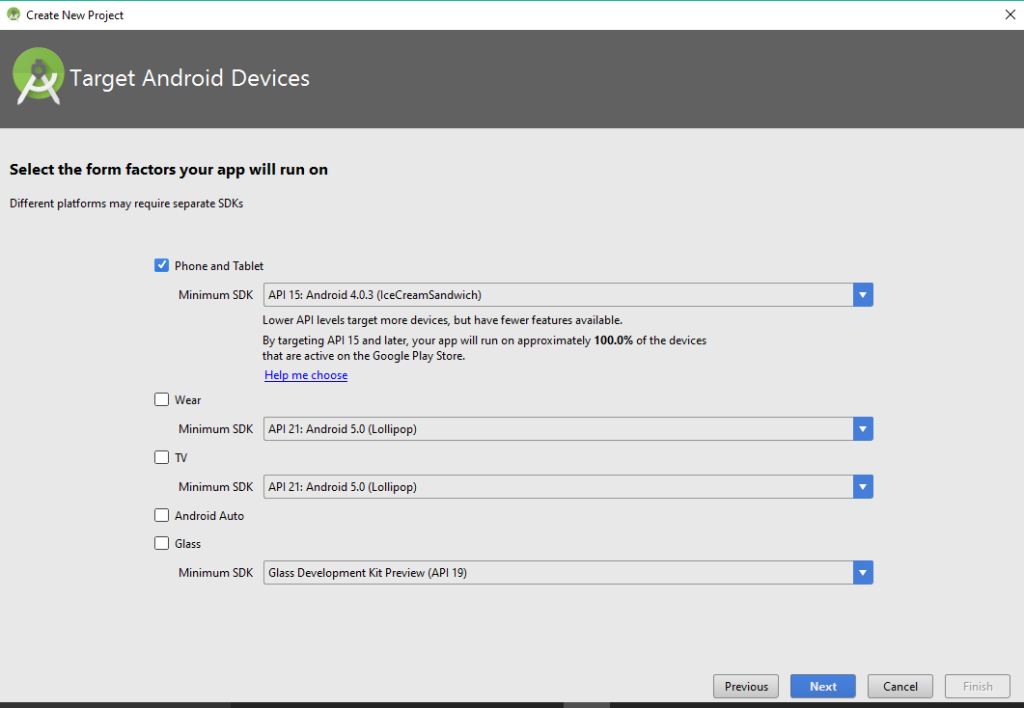
Click on Next, You will get below screen from where you have to Add an Activity to Mobile.
I select Empty Activity, you can as your requirement.
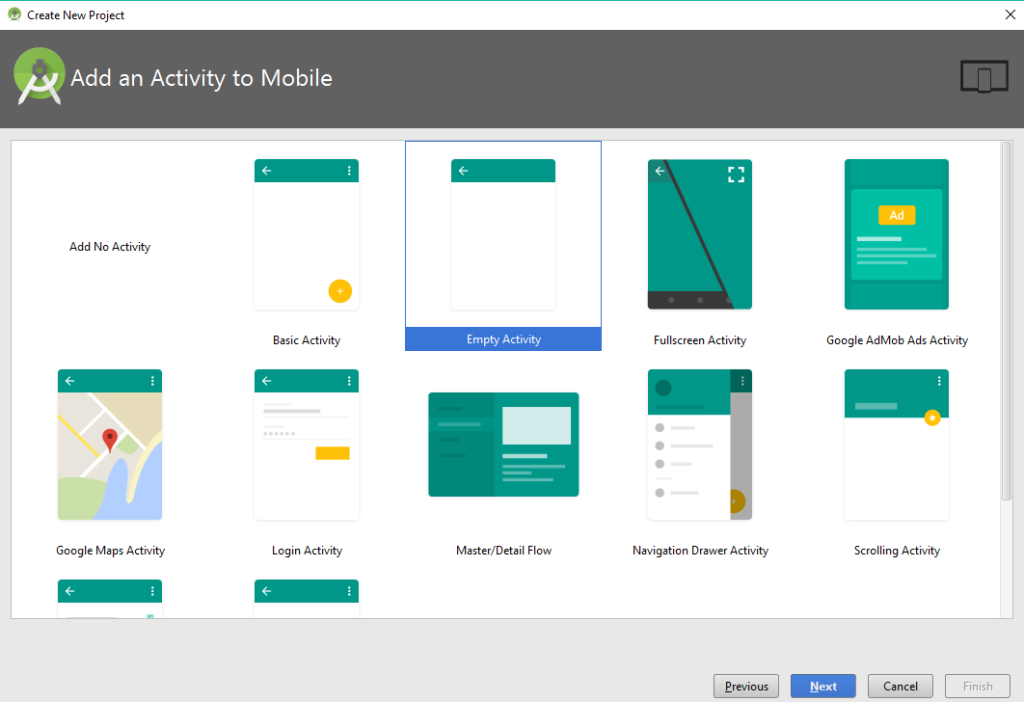
Finally at last you need to Customize the Activity, Here you can change name of Activity and Layout which is associated with this activity. Click On Finish for check in your first project

So here is your first Android Project.
