In this Laravel jQuery Ajax Form Submit tutorial you’ll learn to submit form data without reloading or refreshing of page using ajax. In this tutorial I’ll show you step by step how to submit a form without reloading or refreshing of page using ajax. In this example we will be using jquery ajax submit handler for ajax form submission.
In Laravel, to submit form data using ajax we must have to incorporate csrf token with form data and set X-CSRF-TOKEN request header with ajax form submit request.
Before starting with example I assume that you already have fresh laravel 5.8 installation ready, if you have it installed then you can skip this step.
Create Laravel 5.8 Application
First of all we need to create a fresh laravel project, download and install Laravel 5.8 using the below command
|
|
composer create-project --prefer-dist laravel/laravel larablog |
Configure Database In .env file
Now, lets create a MySQL database and connect it with laravel application. After creating database we need to set database credential in application’s .env file.
.env
|
|
DB_CONNECTION=mysql DB_HOST=127.0.0.1 DB_PORT=3306 DB_DATABASE=larablog DB_USERNAME=root DB_PASSWORD= |
Generate Application Key
Open terminal and switch to the project directory and run the following command to generate application key and configure cache.
|
|
php artisan key:generate php artisan config:cache |
Set Default String Length
Locate the file “app/Providers/AppServiceProvider”, and add following line of code to the top of the file
|
|
use Illuminate\Support\Facades\Schema; |
and inside the boot method set a default string length as given below –
|
|
Schema::defaultStringLength(191); |
So this is how “app/Providers/AppServiceProvider” file looks like –
|
|
<?php namespace App\Providers; use Illuminate\Support\ServiceProvider; use Illuminate\Support\Facades\Schema; class AppServiceProvider extends ServiceProvider { public function boot() { Schema::defaultStringLength(191); } public function register(){ } } |
Create Model and Migration
Now, we have to define table schema for contact table. Open terminal and let’s run the following command to generate a Contact model along with a migration file to create contact table in our database.
|
|
php artisan make:model Contact -m |
Once this command is executed you will find a migration file created under “database/migrations”. Lets open migration file created and put following code in it –
1 2 3 4 5 6 7 8 9 10 11 12 13 14 15 16 17 18 19 20 21 22 23 24 25 26 27 28 29 30 31 32 33 34 |
<?php use Illuminate\Support\Facades\Schema; use Illuminate\Database\Schema\Blueprint; use Illuminate\Database\Migrations\Migration; class CreateContactsTable extends Migration { /** * Run the migrations. * * @return void */ public function up() { Schema::create('contacts', function (Blueprint $table) { $table->bigIncrements('id'); $table->string('name'); $table->string('email'); $table->string('phone'); $table->timestamps(); }); } /** * Reverse the migrations. * * @return void */ public function down() { Schema::dropIfExists('contacts'); } } |
Run Laravel Migration
Now, run following command to migrate database schema.
After, the migration executed successfully the contact table will be created in database.
Create Laravel View Files
In this step, we will create laravel view/blade file to display contact form and submit it using jquery ajax. Lets create a blade file “contact_form.blade.php” in “resources/views/ajaxFormSubmit/” directory.
Create bootstrap form In View File
Go to “contact_form.blade.php” in “resources/views/ajaxFormSubmit/” directory and put the following code in it to create a bootstrap form.
resources/views/ajaxFormSubmit/contact_form.blade.php
1 2 3 4 5 6 7 8 9 10 11 12 13 14 15 16 17 18 19 20 21 22 23 24 25 26 27 28 29 30 31 32 33 34 35 36 37 38 39 40 41 42 43 44 45 46 47 48 |
<!doctype html> <html lang="en"> <head> <meta charset="utf-8"> <meta name="viewport" content="width=device-width, initial-scale=1, shrink-to-fit=no"> <title>Laravel 5.8 Ajax Form Submit with Validation - W3Adda</title> <link rel="stylesheet" href="https://cdnjs.cloudflare.com/ajax/libs/twitter-bootstrap/4.1.3/css/bootstrap.min.css" /> <script src="http://ajax.googleapis.com/ajax/libs/jquery/1.9.1/jquery.js"></script> <style> .error{ color:red; } </style> </head> <body> <div class="container"> <h2 style="margin-top: 10px;">Laravel 5.8 Ajax Form Submit with Validation - W3Adda</h2> <br> <br> <form id="contact_us" method="post" action="javascript:void(0)"> <div class="alert alert-success d-none" id="msg_div"> <span id="res_message"></span> </div> <div class="form-group"> <label for="name">Name</label> <input type="text" name="name" class="form-control" id="name" placeholder="Please enter name"> <span class="text-danger">{{ $errors->first('name') }}</span> </div> <div class="form-group"> <label for="email">Email Id</label> <input type="text" name="email" class="form-control" id="email" placeholder="Please enter email id"> <span class="text-danger">{{ $errors->first('email') }}</span> </div> <div class="form-group"> <label for="phone">Phone</label> <input type="text" name="phone" class="form-control" id="phone" placeholder="Please enter mobile number" maxlength="10"> <span class="text-danger">{{ $errors->first('phone') }}</span> </div> <div class="form-group"> <button type="submit" id="send_form" class="btn btn-success">Submit</button> </div> </form> </div> </body> </html> |
Laravel comes with a security mechanism called csrf token. In Laravel, each of the request is attached a csrf_token that is validated before can be processed. In order to submit form data using ajax, we must have to incorporate following meta tag in our view file.
|
|
<meta name="csrf-token" content="{{ csrf_token() }}"> |
Add jQuery In View file
Now, we need to include jquery library into our view file. Add the following line of code inside the head section of view file.
|
|
<script src="http://ajax.googleapis.com/ajax/libs/jquery/1.9.1/jquery.js"></script> |
Create a submit handler function
Lets create an empty function to be executed when submit button is clicked. Add the following javascript code in view file at the end of the view file.
|
|
<script> //----------------- $(document).ready(function(){ $('#send_form').click(function(e){ e.preventDefault(); }); }); //----------------- </script> |
Set CSRF Token In jQuery Ajax Header :-
In order to submit form data using ajax, we must have to set X-CSRF-TOKEN request header with ajax form submit request.
|
|
$.ajaxSetup({ headers: { 'X-CSRF-TOKEN': $('meta[name="csrf-token"]').attr('content') } }); |
Create $.ajax() function to submit form data :-
Now, we will add following code to submit form data using ajax inside submit handler function. Our final submit handler function will look like this –
1 2 3 4 5 6 7 8 9 10 11 12 13 14 15 16 17 18 19 20 21 22 23 24 25 26 27 28 29 30 31 32 33 34 35 36 37 |
<script> //----------------- $(document).ready(function(){ $('#send_form').click(function(e){ e.preventDefault(); /*Ajax Request Header setup*/ $.ajaxSetup({ headers: { 'X-CSRF-TOKEN': $('meta[name="csrf-token"]').attr('content') } }); $('#send_form').html('Sending..'); /* Submit form data using ajax*/ $.ajax({ url: "{{ url('jquery-ajax-form-submit')}}", method: 'post', data: $('#contact_us').serialize(), success: function(response){ //------------------------ $('#send_form').html('Submit'); $('#res_message').show(); $('#res_message').html(response.msg); $('#msg_div').removeClass('d-none'); document.getElementById("contact_us").reset(); setTimeout(function(){ $('#res_message').hide(); $('#msg_div').hide(); },10000); //-------------------------- }}); }); }); //----------------- </script> |
Now our final view file will look like this –
resources/views/ajaxFormSubmit/contact_form.blade.php
1 2 3 4 5 6 7 8 9 10 11 12 13 14 15 16 17 18 19 20 21 22 23 24 25 26 27 28 29 30 31 32 33 34 35 36 37 38 39 40 41 42 43 44 45 46 47 48 49 50 51 52 53 54 55 56 57 58 59 60 61 62 63 64 65 66 67 68 69 70 71 72 73 74 75 76 77 78 79 80 81 82 83 84 85 86 87 |
<!doctype html> <html lang="en"> <head> <meta charset="utf-8"> <meta name="viewport" content="width=device-width, initial-scale=1, shrink-to-fit=no"> <!-- CSRF Token Meta Added --> <meta name="csrf-token" content="{{ csrf_token() }}"> <title>Laravel 5.8 Ajax Form Submit with Validation - W3Adda</title> <link rel="stylesheet" href="https://cdnjs.cloudflare.com/ajax/libs/twitter-bootstrap/4.1.3/css/bootstrap.min.css" /> <script src="http://ajax.googleapis.com/ajax/libs/jquery/1.9.1/jquery.js"></script> <style> .error{ color:red; } </style> </head> <body> <div class="container"> <h2 style="margin-top: 10px;">Laravel 5.8 Ajax Form Submit with Validation - W3Adda</h2> <br> <br> <form id="contact_us" method="post" action="javascript:void(0)"> <div class="alert alert-success d-none" id="msg_div"> <span id="res_message"></span> </div> <div class="form-group"> <label for="name">Name</label> <input type="text" name="name" class="form-control" id="name" placeholder="Please enter name"> <span class="text-danger">{{ $errors->first('name') }}</span> </div> <div class="form-group"> <label for="email">Email Id</label> <input type="text" name="email" class="form-control" id="email" placeholder="Please enter email id"> <span class="text-danger">{{ $errors->first('email') }}</span> </div> <div class="form-group"> <label for="phone">Phone</label> <input type="text" name="phone" class="form-control" id="phone" placeholder="Please enter mobile number" maxlength="10"> <span class="text-danger">{{ $errors->first('phone') }}</span> </div> <div class="form-group"> <button type="submit" id="send_form" class="btn btn-success">Submit</button> </div> </form> </div> </body> </html> <script> //----------------- $(document).ready(function(){ $('#send_form').click(function(e){ e.preventDefault(); /*Ajax Request Header setup*/ $.ajaxSetup({ headers: { 'X-CSRF-TOKEN': $('meta[name="csrf-token"]').attr('content') } }); $('#send_form').html('Sending..'); /* Submit form data using ajax*/ $.ajax({ url: "{{ url('jquery-ajax-form-submit')}}", method: 'post', data: $('#contact_us').serialize(), success: function(response){ //------------------------ $('#send_form').html('Submit'); $('#res_message').show(); $('#res_message').html(response.msg); $('#msg_div').removeClass('d-none'); document.getElementById("contact_us").reset(); setTimeout(function(){ $('#res_message').hide(); $('#msg_div').hide(); },10000); //-------------------------- }}); }); }); //----------------- </script> |
Create Laravel Controller
Next, we have to create a controller to display contact form and to handle form validation and submit operations. Lets Create a controller named ContactController using command given below –
|
|
php artisan make:controller ajaxFormSubmit/ContactController |
Once the above command executed, it will create a controller file ContactController.php in app/Http/Controllers/ajaxFormSubmit directory.
Open the ajaxFormSubmit/ContactController.php file and put the following code in it.
app/Http/Controllers/ajaxFormSubmit/ContactController.php
1 2 3 4 5 6 7 8 9 10 11 12 13 14 15 16 17 18 19 20 21 22 23 24 25 26 27 28 |
<?php namespace App\Http\Controllers\ajaxFormSubmit; use Illuminate\Http\Request; use App\Http\Controllers\Controller; use App\Contact; use Redirect,Response; class ContactController extends Controller { // public function index() { return view('ajaxFormSubmit.contact_form'); } public function store(Request $request) { $data = $request->all(); $result = Contact::insert($data); if($result){ $arr = array('msg' => 'Contact Added Successfully!', 'status' => true); } return Response()->json($arr); } } |
In this controller, we have following methods –
index() :- To display contact form.
store() :- To handle form submit request.
Define Laravel Route
After this, we need to define routes in “routes/web.php” file. Lets open “routes/web.php” file and add the following routes in it.
routes/web.php
|
|
Route::get('jquery-ajax-form-submit', 'ajaxFormSubmit\ContactController@index'); Route::post('jquery-ajax-form-submit', 'ajaxFormSubmit\ContactController@store'); |
Start Development Server
Now we are ready to run our example so lets start the development server using following artisan command –
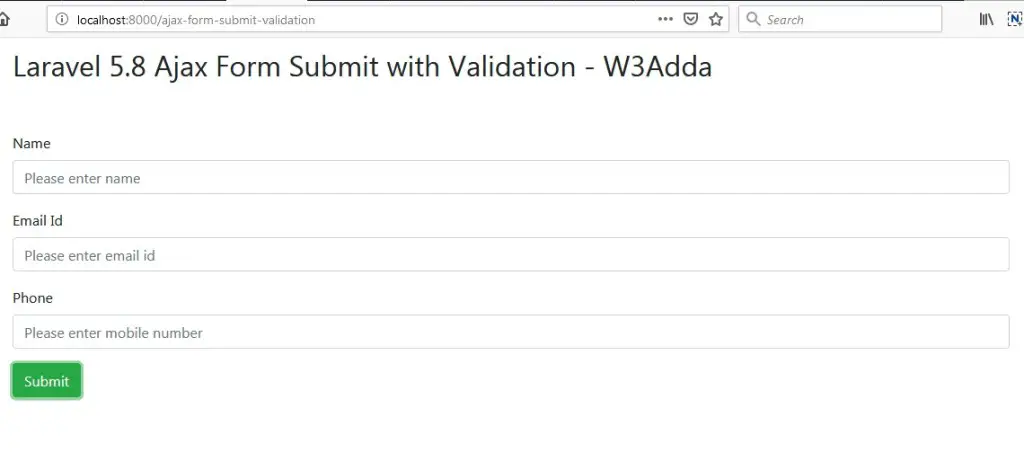
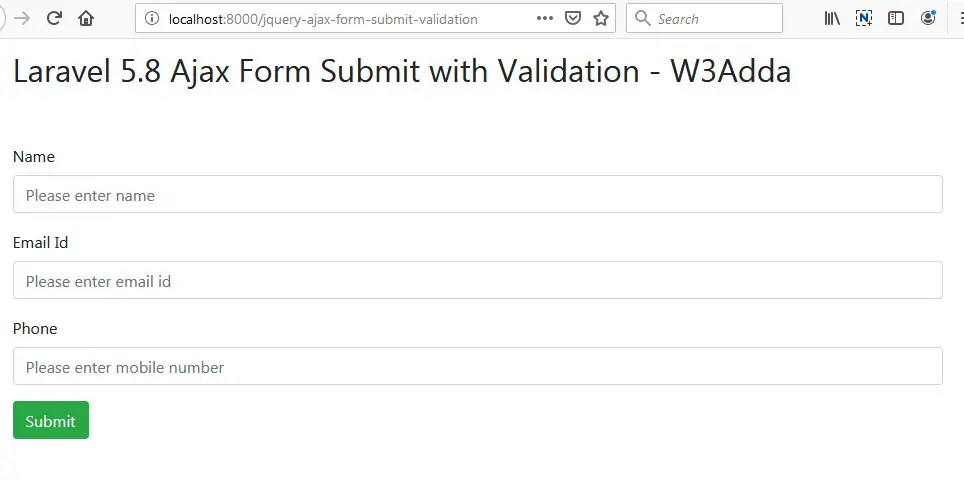
Now, open the following URL in browser to see the output –
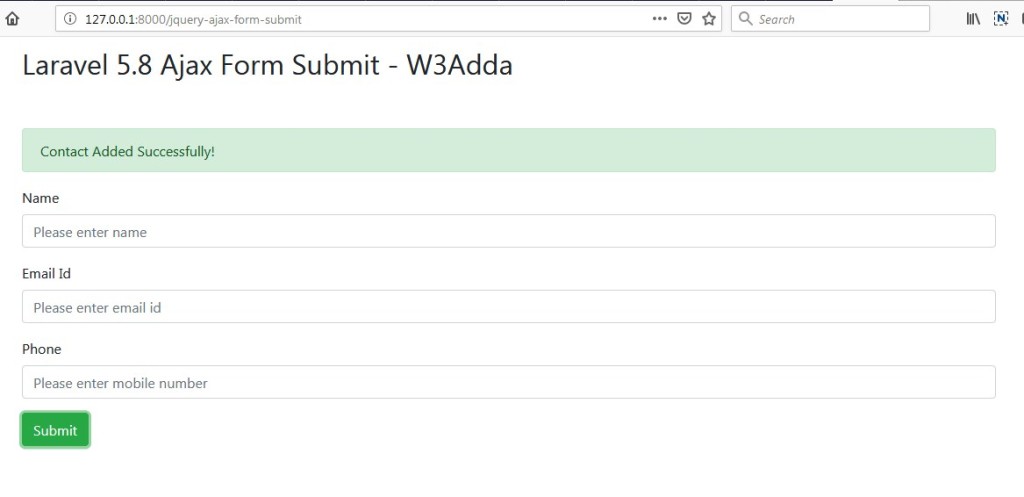
http://localhost:8000/jquery-ajax-form-submit
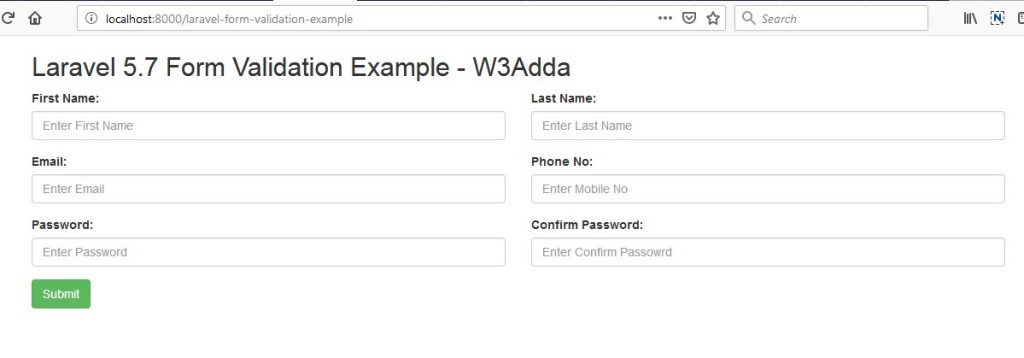
Output 1:-
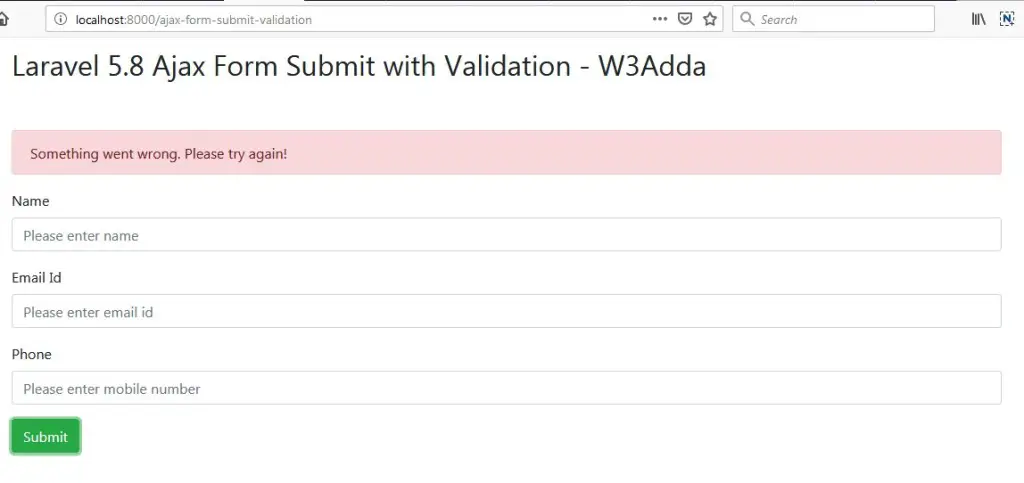
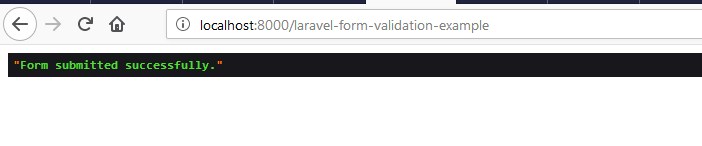
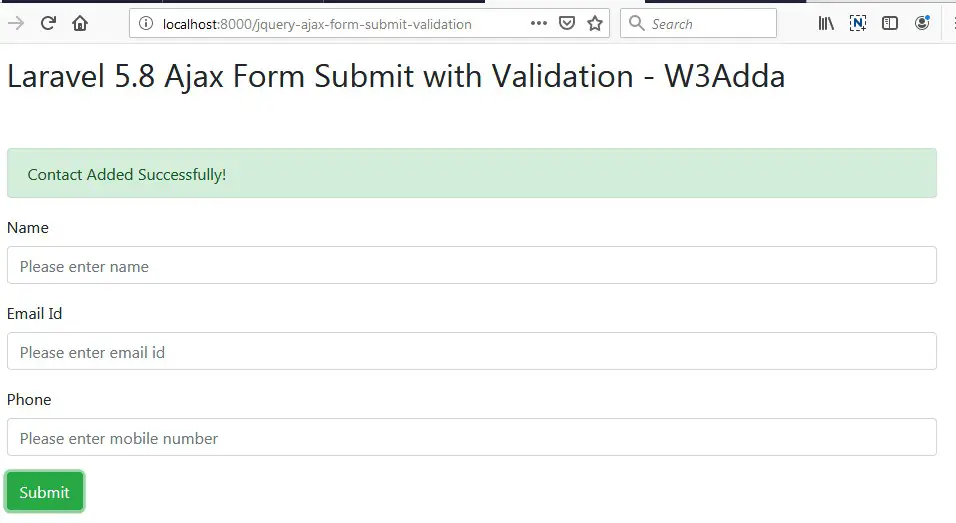
Output 2:-
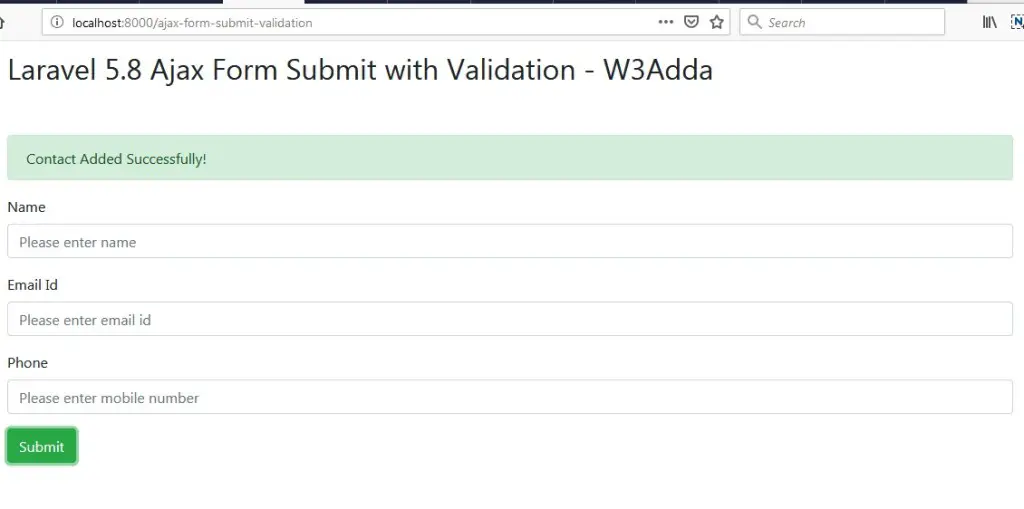
Form data submitted successfully